If there’s a heaven I think I visited it today.
After running a couple of errands early in the morning I headed to Lisandro Olmos on the outside of the City to buy some scrap metal for my welding classes.
A couple of members of the group said good things about Grúas Mársico so I went there, it was also a good opportunity to travel a bit on this part, as I don’t know almost anything about it.
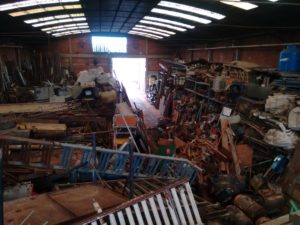
As I entered the warehouse I became speechless. There are shelves that extend up to the roof with parts from all kind of machines neatly organized on one side. On the other pieces of metal plate and tubing. Some big planers, milling machines and spot welders among them. And on the background, the tallest pile of industrial waste I ever seen in person. All of this on sale by weight save for a couple of weird stuff.
The shop was run by a very nice lady and her brother. This morning I only bought some iron but the next time I come around I’ll bring a small truck to pick some very , very interesting stuff.
-
-
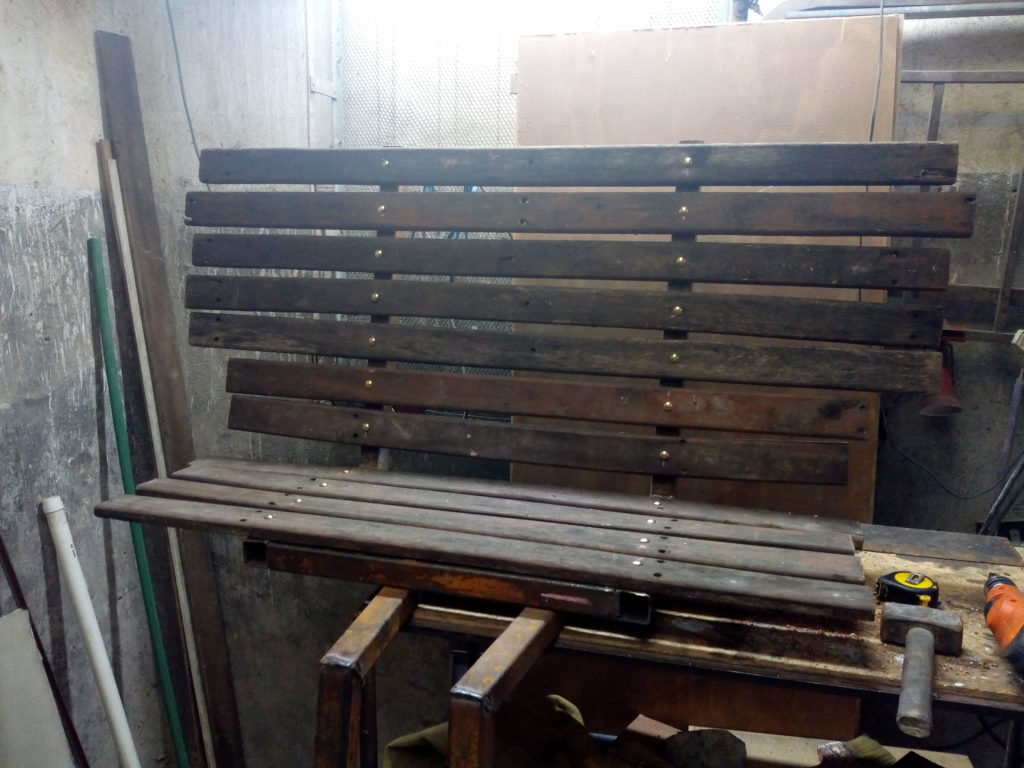
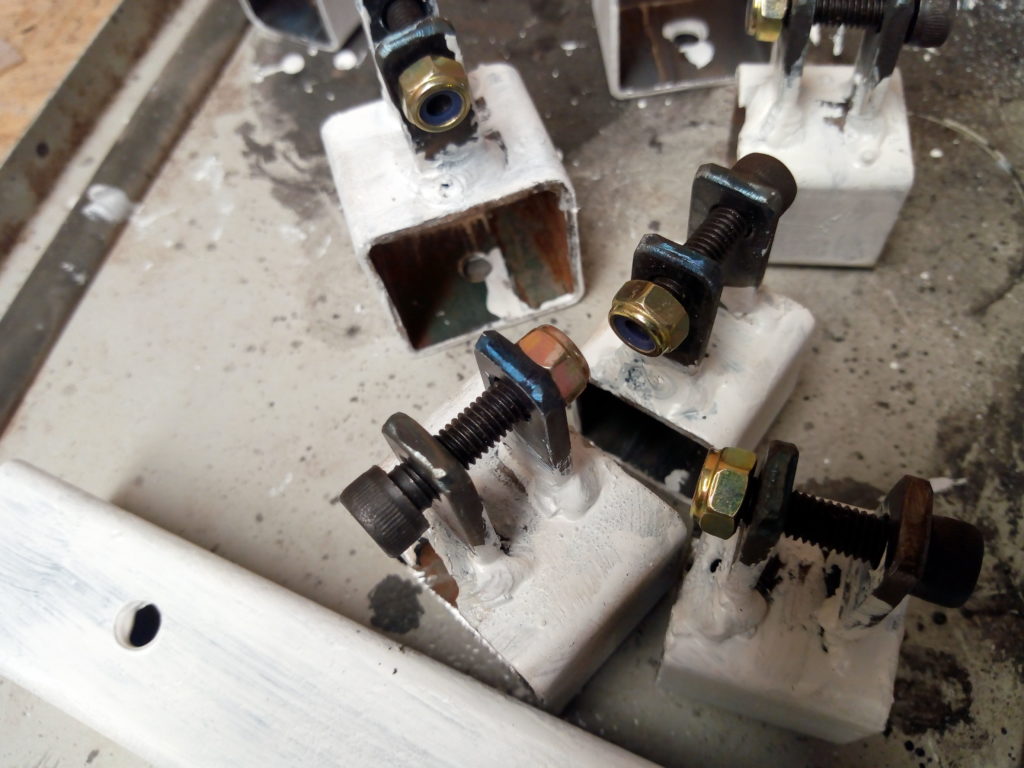
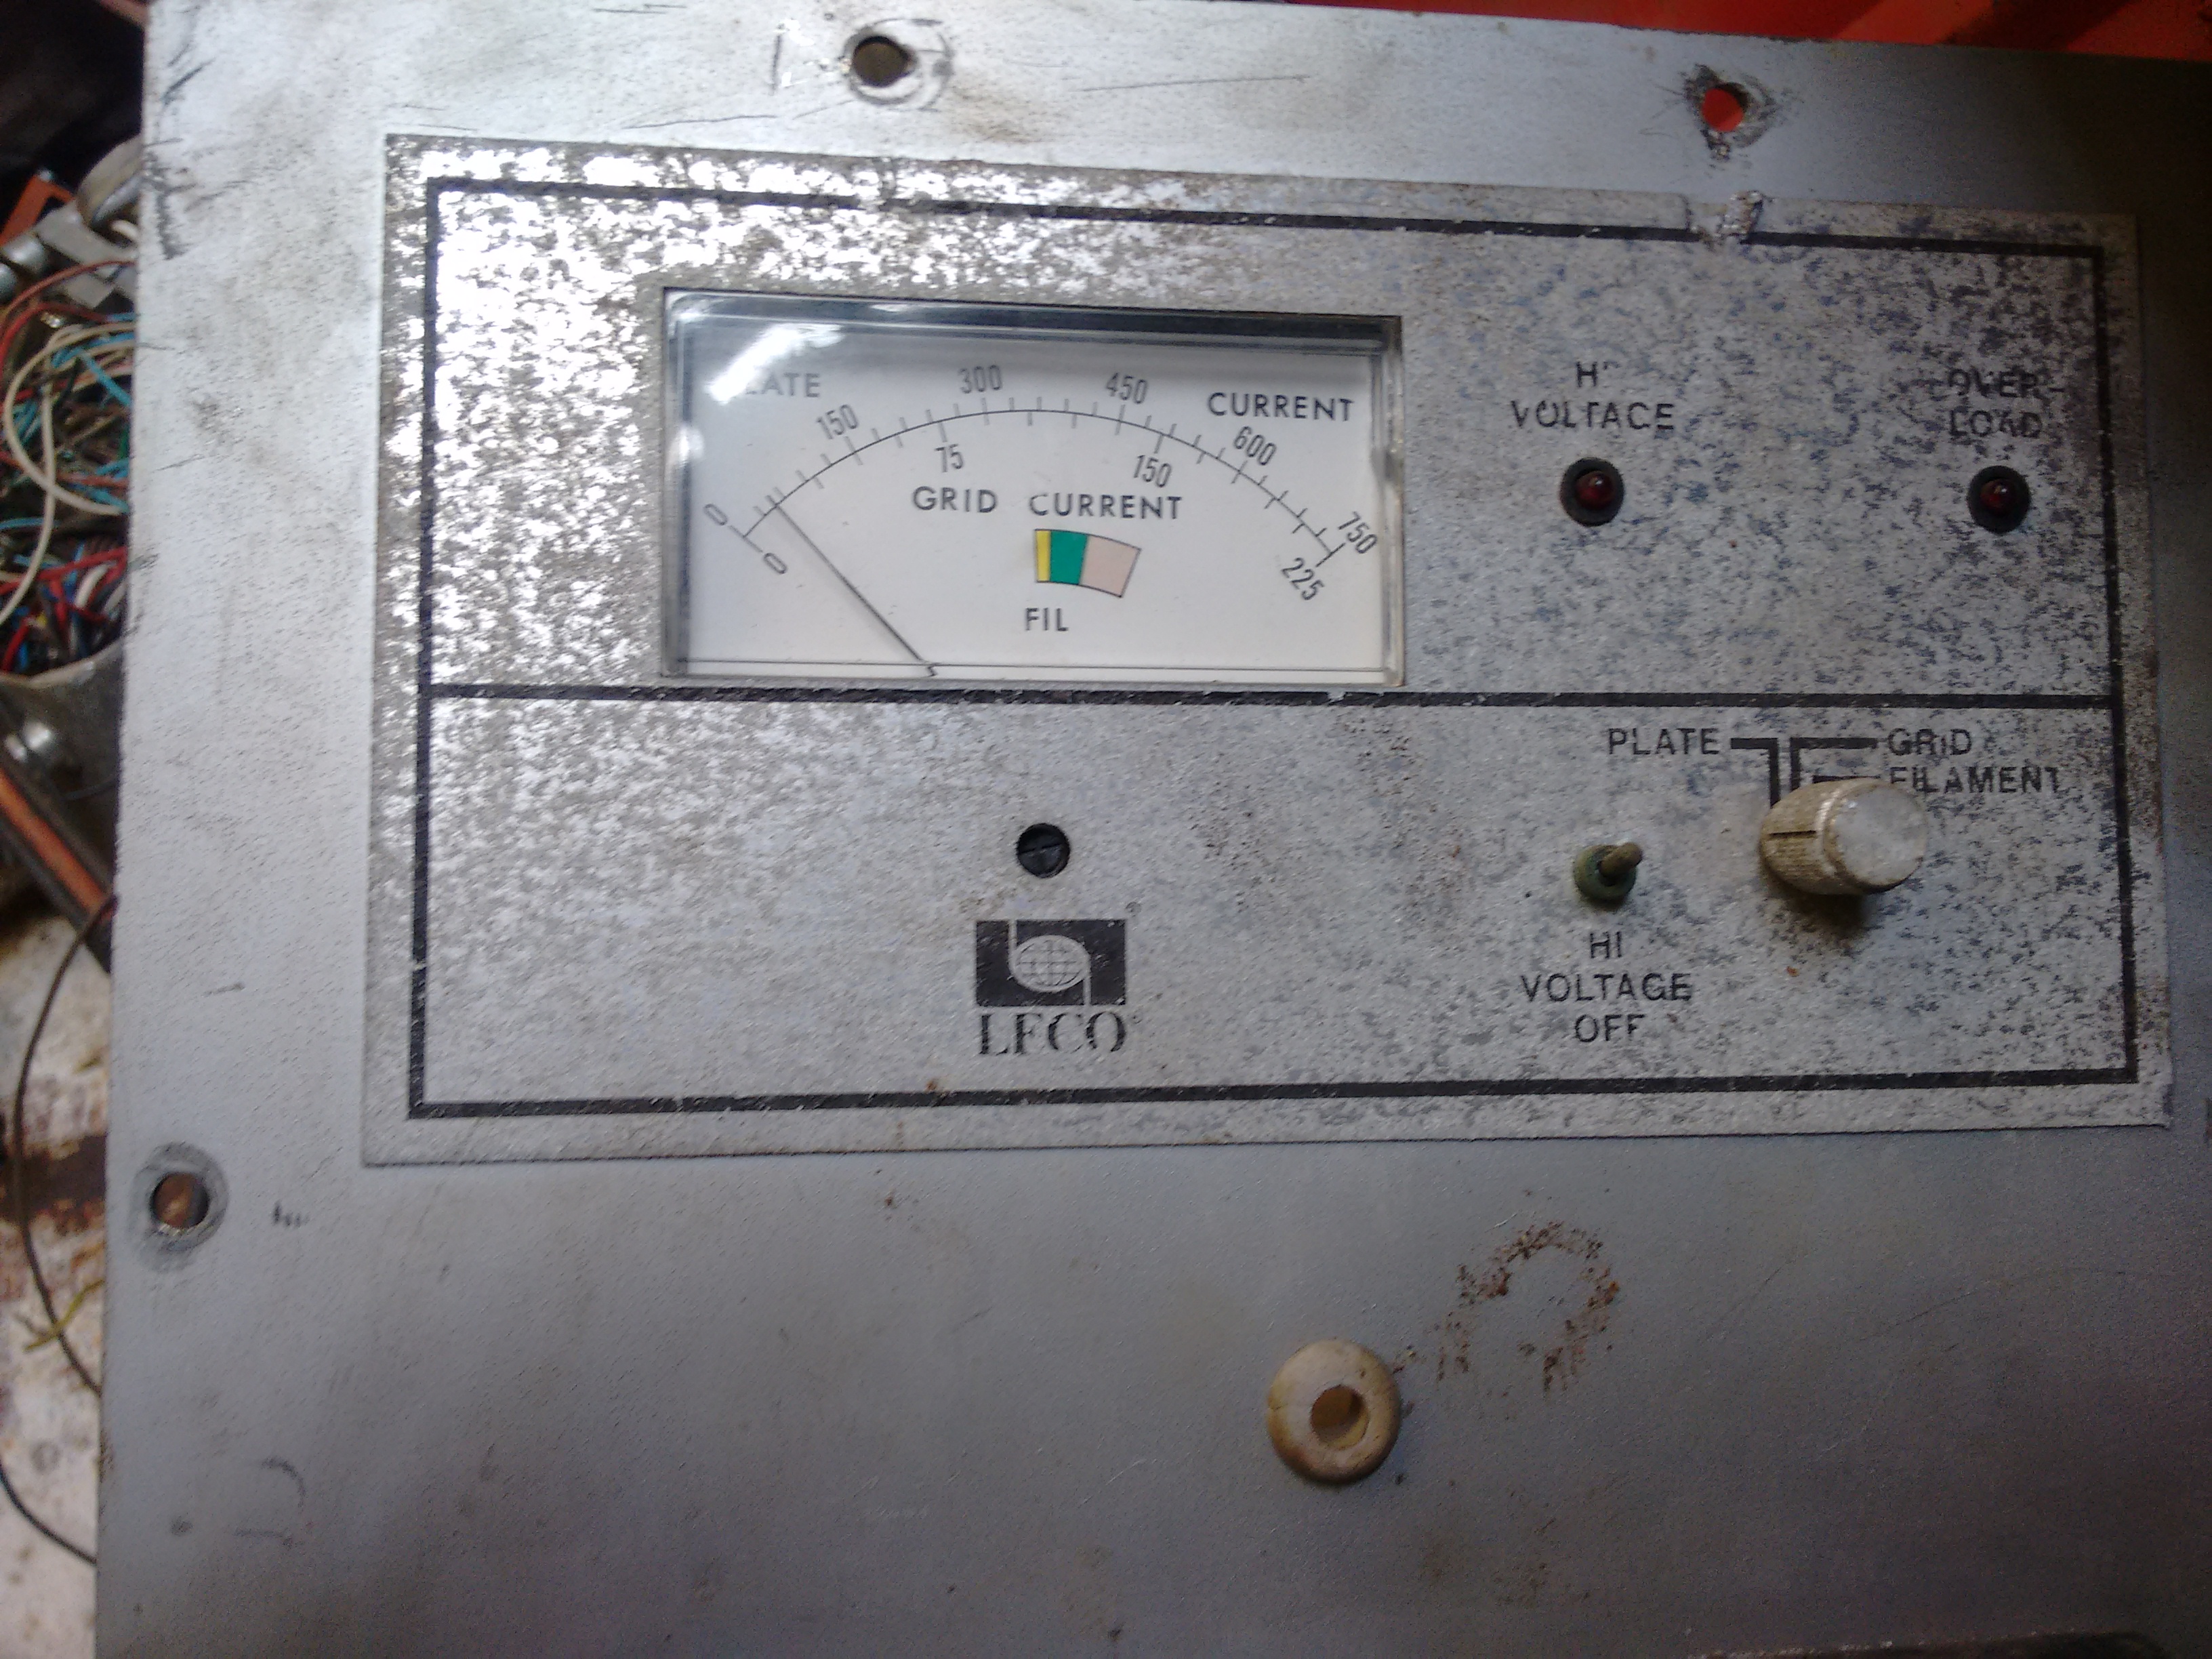
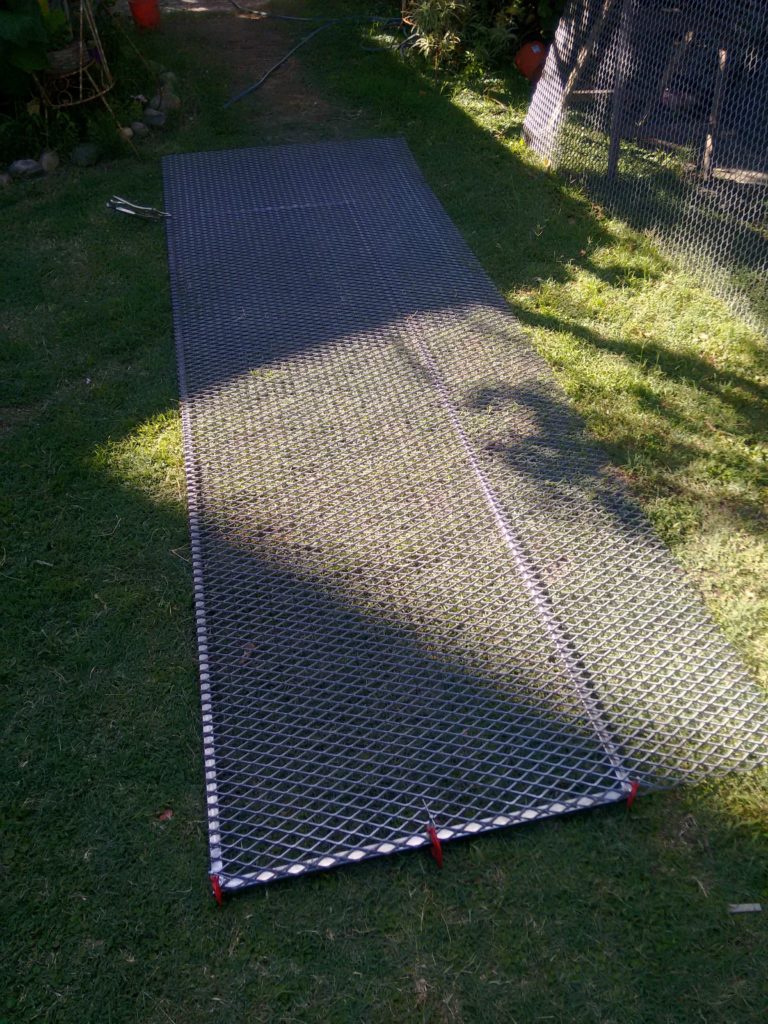
Scrapyard at Gruas Marsico. La Plata, Buenos Aires, Argentina
-

-
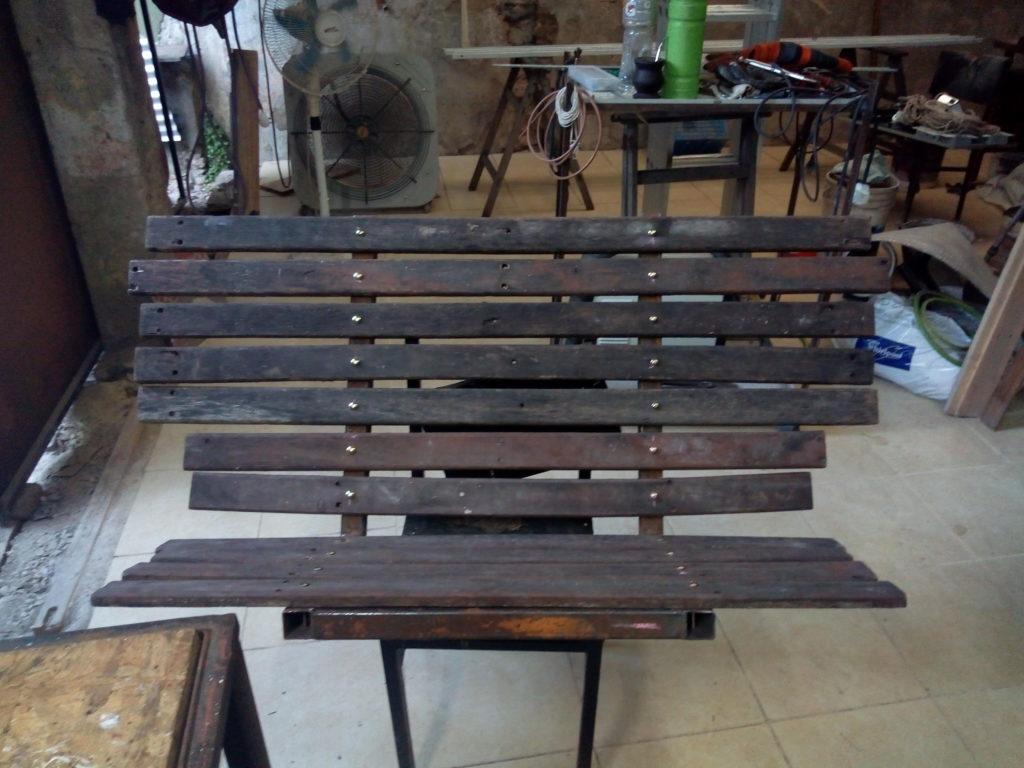
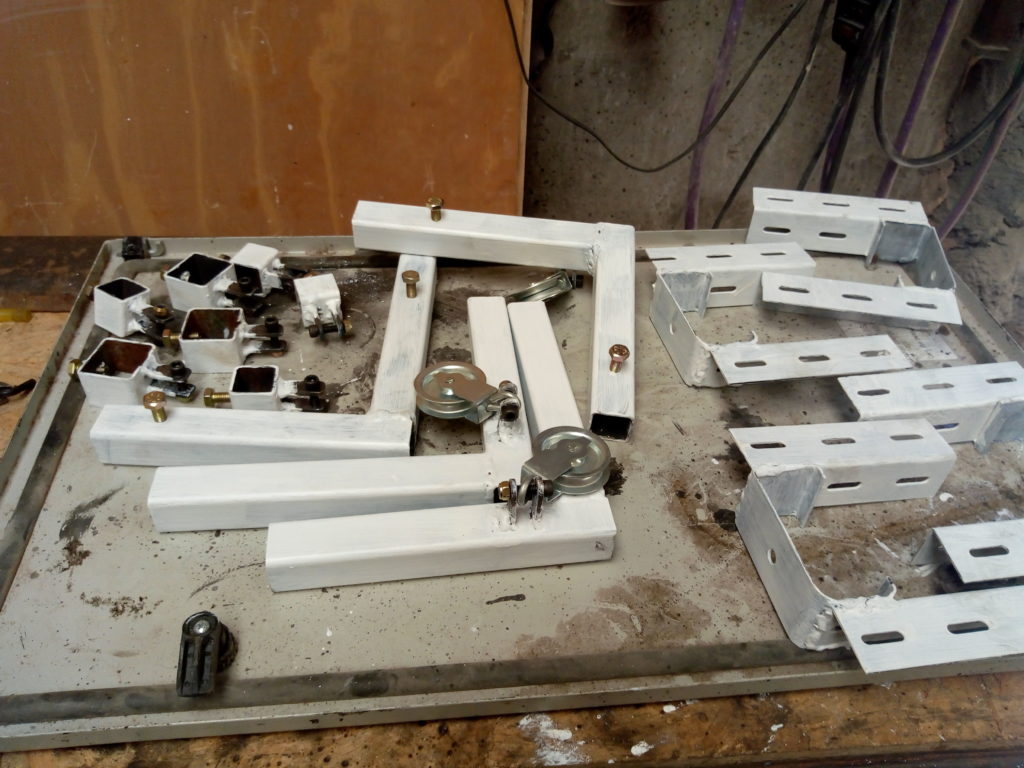
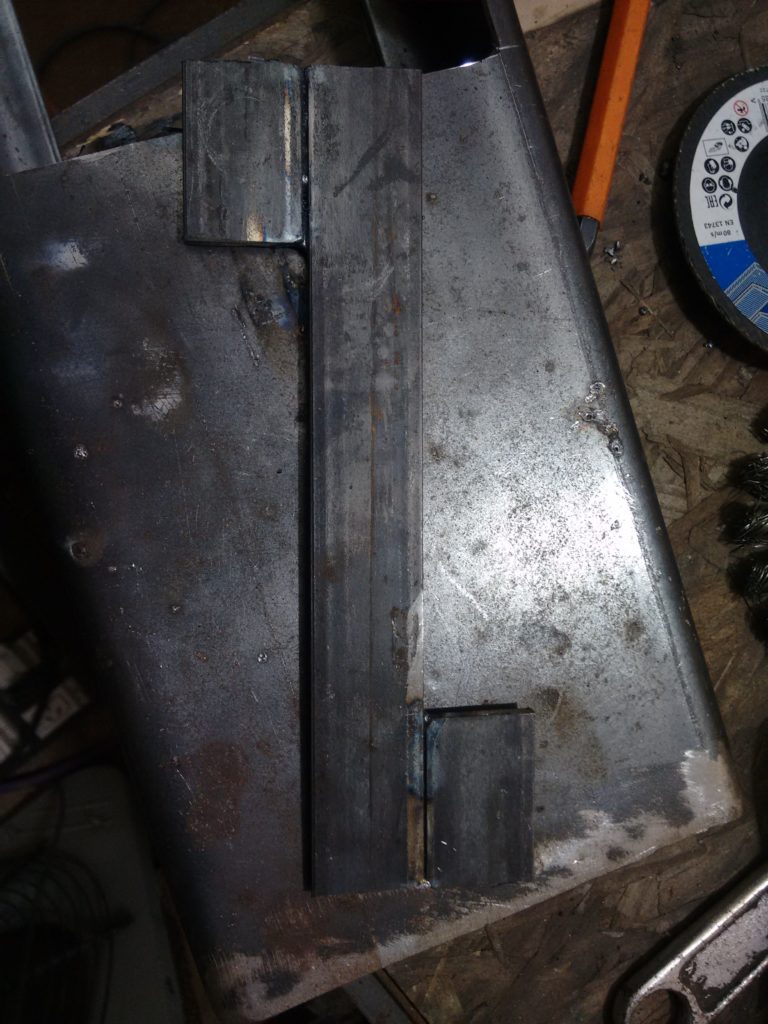
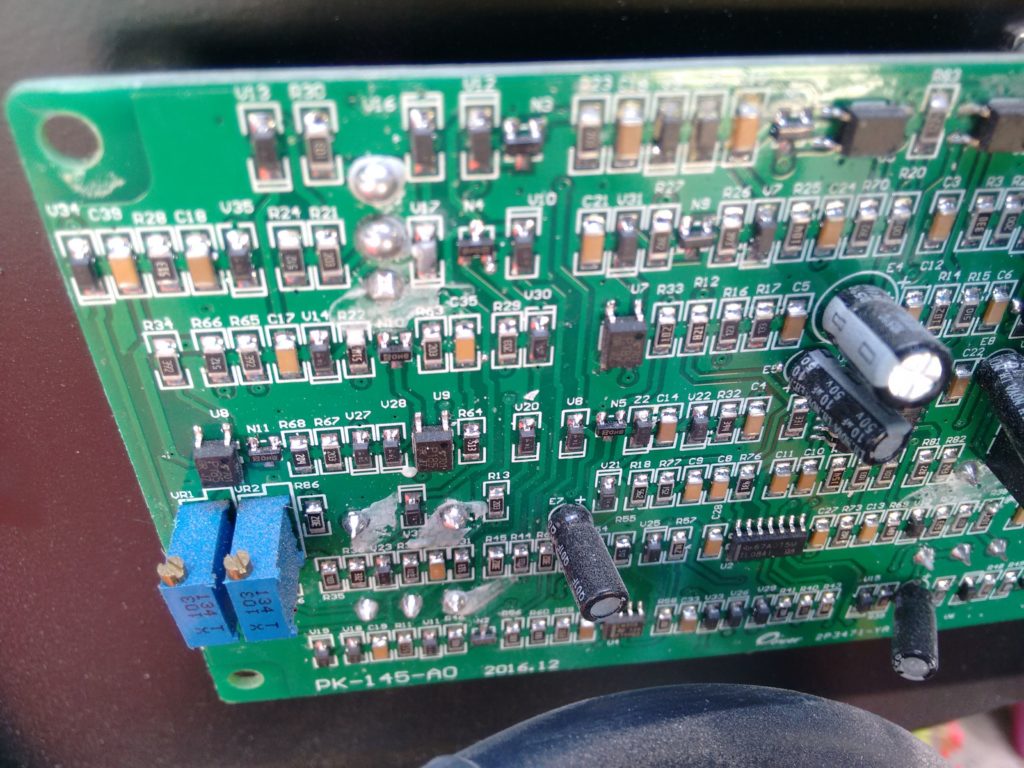
Scrapyard at Gruas Marsico. La Plata, Buenos Aires, Argentina
-

-
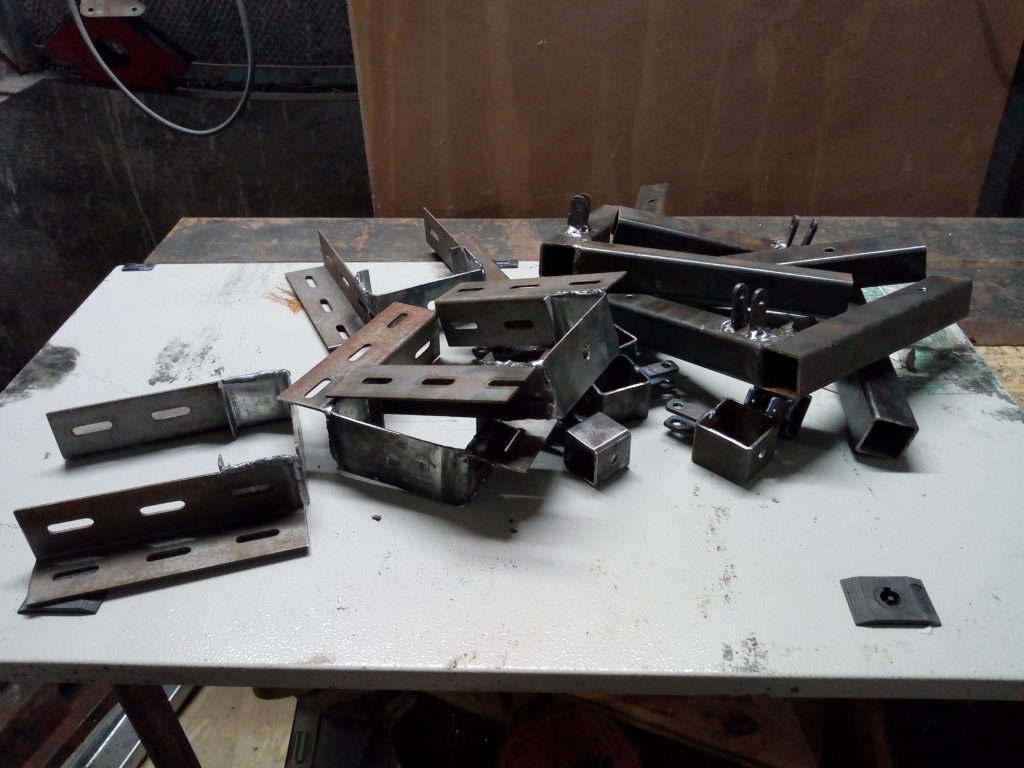
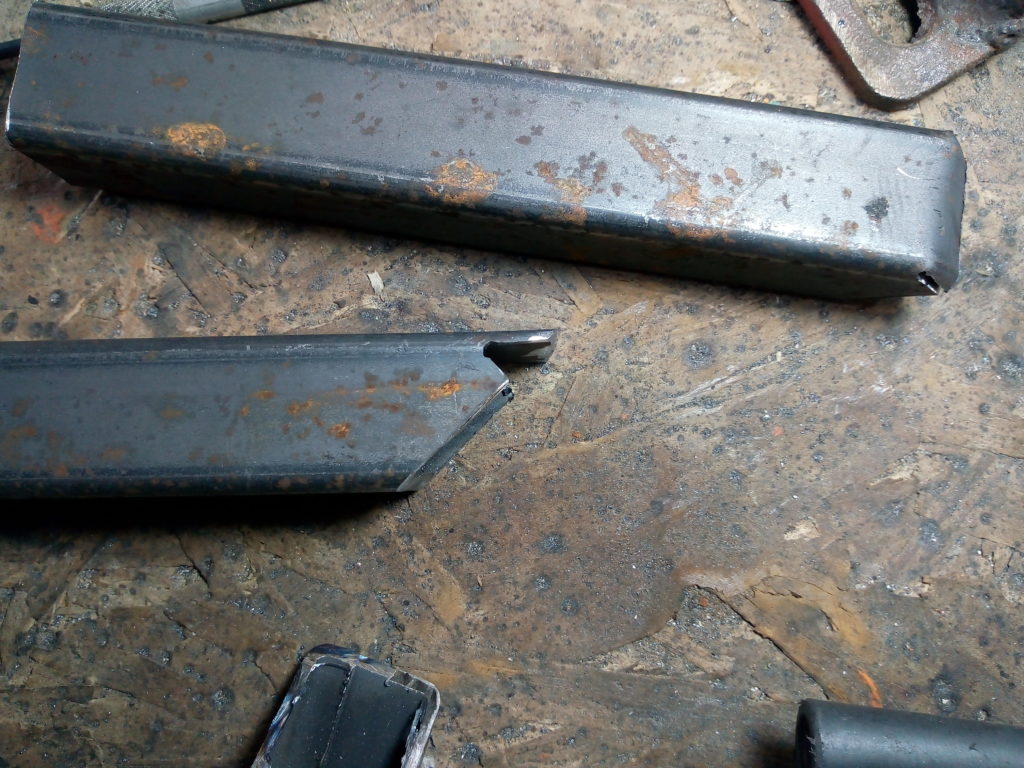
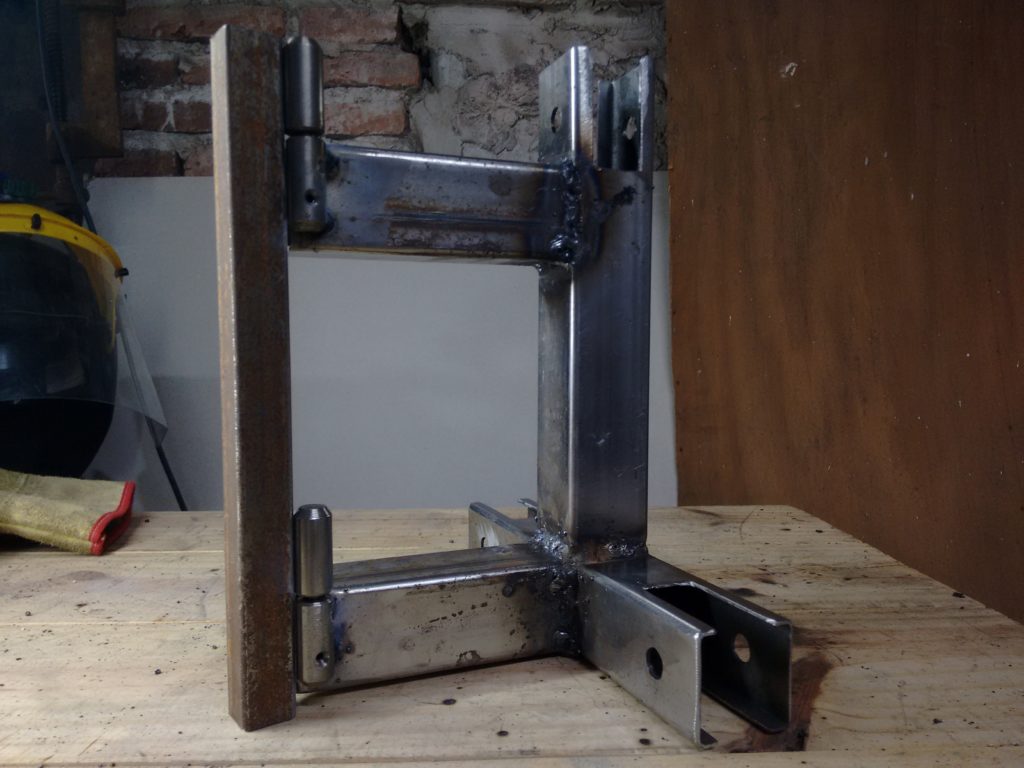
Scrapyard at Gruas Marsico. La Plata, Buenos Aires, Argentina
-

-
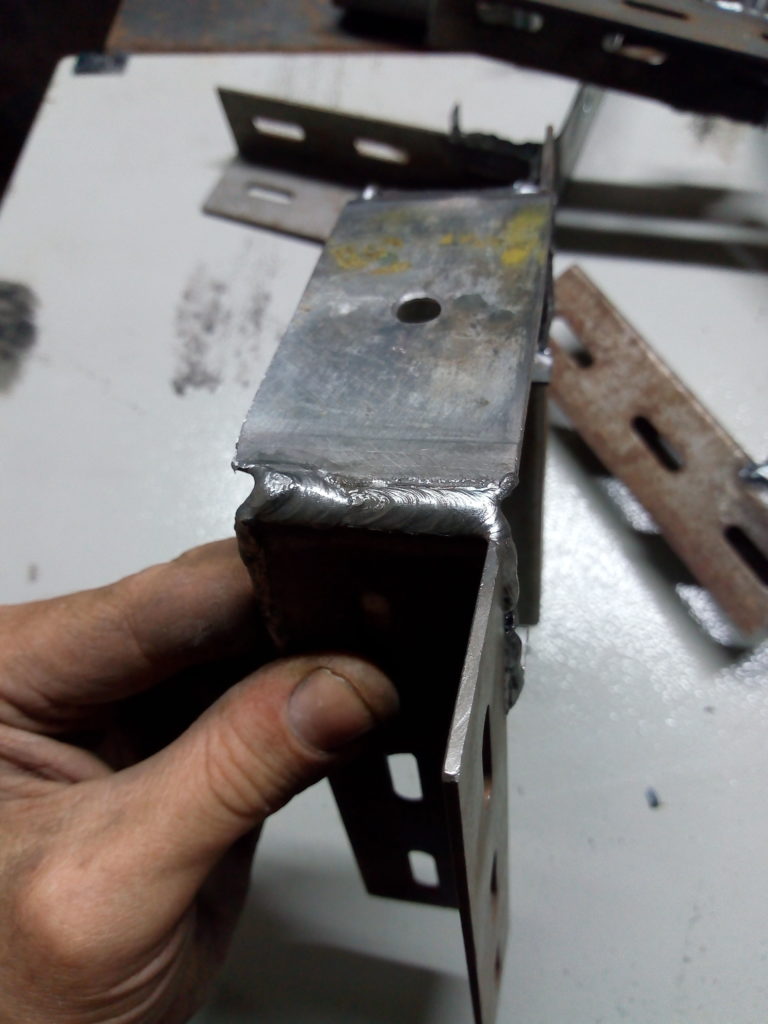
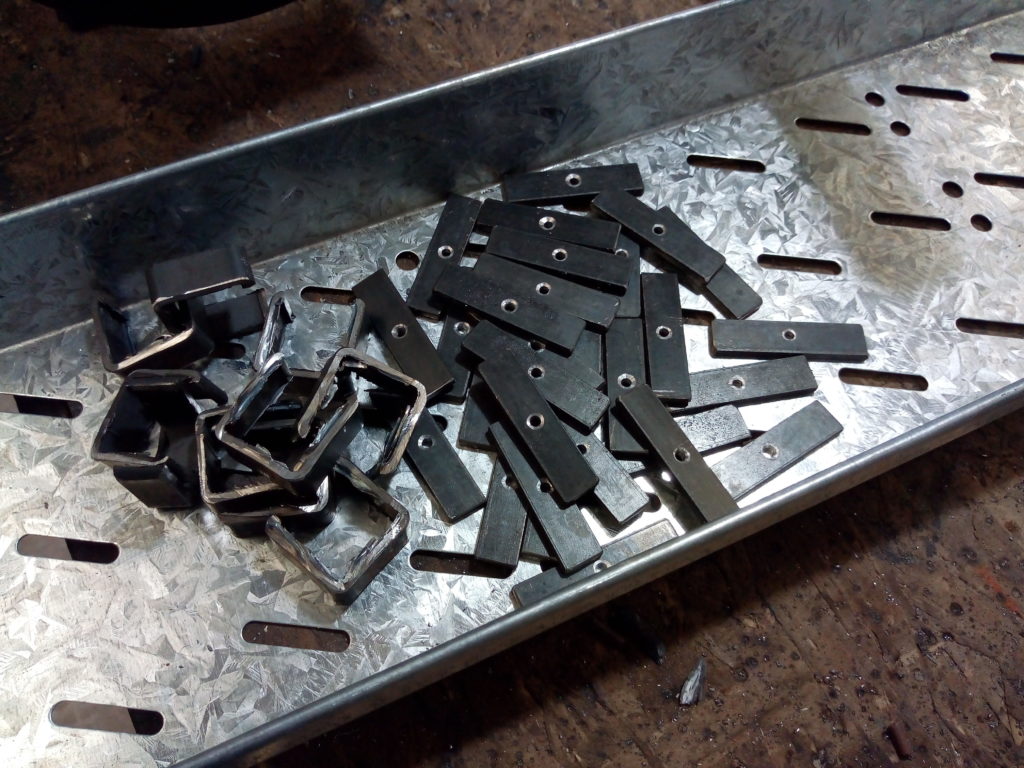
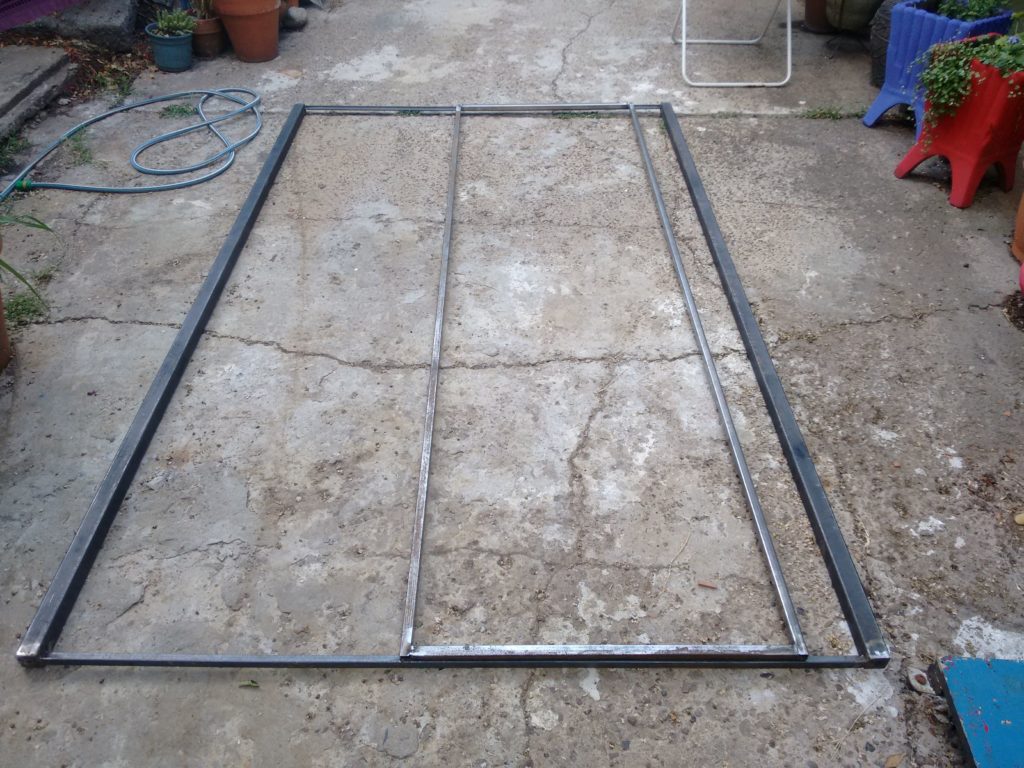
Scrapyard at Gruas Marsico. La Plata, Buenos Aires, Argentina