Some days all I want to do is smash a hard drive to pieces and pour them into a roaring fire.
Some days all I want to do is smash a hard drive to pieces and pour them into a roaring fire.

Today after waiting more than a year since I built them, I finally installed the rollers on our lamp fixture. I also exchanged the roof mounts with something sturdier. Now I only have to retouch the paint on a couple of spots and perhaps build a better winch to pull on all the ropes.
So after building up all the missing metal the next step is turning the shaft back into dimension.
To do this properly a lathe and/or a special grinder is used. I have neither but the points from that compass, a dremel and a bit of ingenuity.
Thus, this is how we create a precision ground shaft in the third world:
I did most of the hard work free hand at the bench grinder and then used this contraption and a small stone on the dremel to get it as close as possible to how it is supposed to be. The keyway only needed a small touch with a round burr after filling the walls.
The gear fits nice with just a bit of runout that I hope the rest of the tolerances will mask out.
And after putting all back together it’s running again. I only needed to add a shim between the gear and the bearing to take out a bit of axial play.
When it broke I was almost about to dump it, I had little experience welding and back then it was really cheap. But in spite of how it looks on the outside it has a very sturdy construction (for its price) and a quality needle bearing instead of a plain bushing like the others.
It was a good call, as now I have another working tool.
I had this “Gladiator” angle grinder awaiting repairs for quite a lot of time. It was cheap but I liked it a lot because it came with a speed control and took a lot of use without complaining.
But one day it broke. The motor spun, there was a lot of noise but the output wasn’t turning. Inspecting the gearbox revealed that the small bevel gear was free in the motor shaft. The grease had some shiny specks and looking closer the key was still in the gear.
On the previous weeks it started to make louder and louder sounds but I assumed it was kind of normal for the abuse.
And then it seems that the keyway gave up and the shaft, soft as butter, ground itself between the hardened gear and the woodruff key until it became free:
I used the bearing puller to have a solid ground connection and started to pad beads to build up the missing metal. I went a bit overboard with the heat but I somehow managed to not bend nor twist the shaft. Tomorrow I’ll try to grind it back to the original dimensions.
Well turns out that puller works with a bit of effort to keep it from buckling. So I used it to finish a belt sander that has been waiting on the bench.

Because this bearing made an unbearable amount of noise:

It’s amazing how much damage heat and wood dust can do. This was a 608-2RS and the metallic plates behind the seals were worn just paper thin.
Tonight I made something that resembles a bearing puller. I’ve been putting off for quite some time fixing a couple of tools because I needed one and this stormy evening seemed like a good time to end that.
(And also fire up the tig welder again now that I have a full bottle of argon.)
Yeah, it looks passable. But doesn’t work at all.
While building it I made (again) the same mistake of not getting the screw out after tacking the nut. And so, between the galvanized coating inside and the different expansion of the nut and the threads on the plate, the screw was firmly locked.
I waited for it to cool, applied penetrating oil and only managed to turn it a bit. I kept torquing and lo, it snapped. This is not a puny screw, it’s a stainless M8.
I welded a nut on the other side and again it snapped.
Then I ground it flush with the nut on the plate, affixed to the original end and tried again. This time just as I felt it about to give and break, it got loose and came apart.
Jut a little twisted.

Today was one of those days when in order to do something I say to myself “I need this tool and (especially now) I can not buy nor justify buying it. So let’s build one”.
And that in itself takes more time than the whole project.
I was in the process of fixing an old dentists lamp that was laying around, the fresnel lens was originally held with some tiny and feeble metal strips that were in horrible shape.
Instead of making a replacement with some leftover stock or filler rods I decided to make a proper retention ring with sheet metal from a computer case.
But, my simple compass wasn’t able to make circles as big as I needed. Thus I set to build a beam compass.
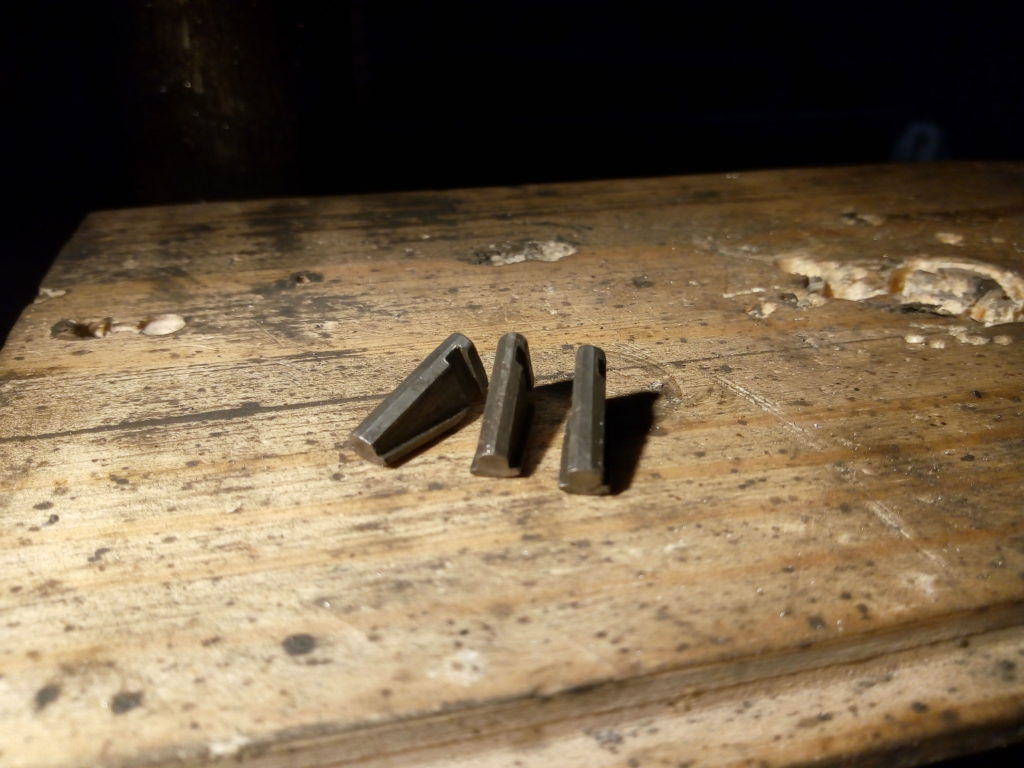
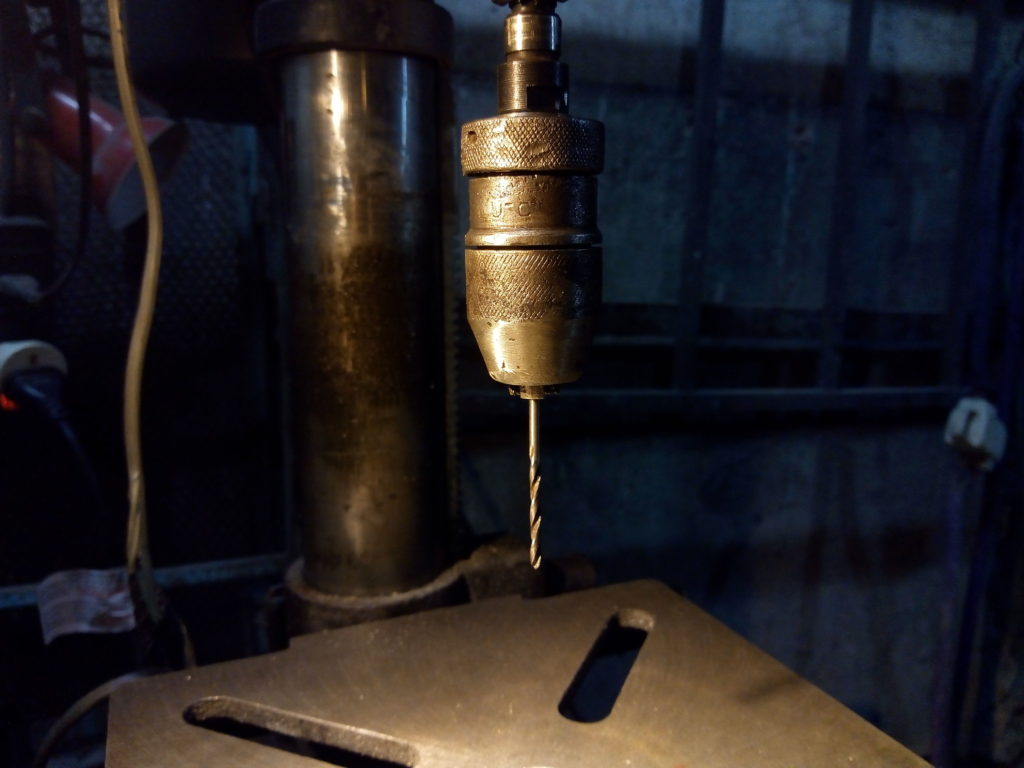
I had the hardened points from a couple of broken punches, so it was only a matter of cross drilling some bolts and figuring out how to end up with something that would be useful.
Except from the bolts everything else came from either the rust bucket or the trash.


There are a lot of things that can be improved but as it is, it fulfills its intended purpose just fine:

Pity that it’s already too late to start the plasma cutter and finish this part.
Part of the frame for a small overhang roof.


While I was waiting for the tiles to dry a bit before cleaning I decided to put some dabs and stringers.
Cast iron is not very nice to weld with a stick but suffices to practice and improve my technique, specially with my right hand.
This machine has a bit of trouble lighting up 6010s but if I run them a bit hot I can get a sustained arc.

I used clear standard automotive hoses for the steam boiler in order to have at a quick glance the water level. They are “rated” at 4 bar but having hot stuff inside certainly didn’t help and with a small hissing warning they sprung a leak that turned into a nice jet of steam.
The pressure is low but in any case standing nearby when that happened was a bit startling.
I’ve been wanting for quite a while to indulge in my steam interests and last week was the perfect moment to give them a spin.
A couple of blocks from here there’s a facility that bottles carbonated water but also rents hot/cold dispensers. From time to time they swap the boilers when the limescale fouls them; discarding the whole unit, thermostat, heater and all.
Every time I walk past their door I pick one or two if they are not pitted. They are very nice, made of stainless and have a lot of uses.
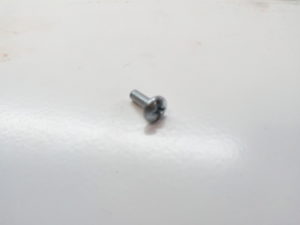
Continue readingIs it a screw? A rivet? Why not both.
I found this dud in a bag of screws.
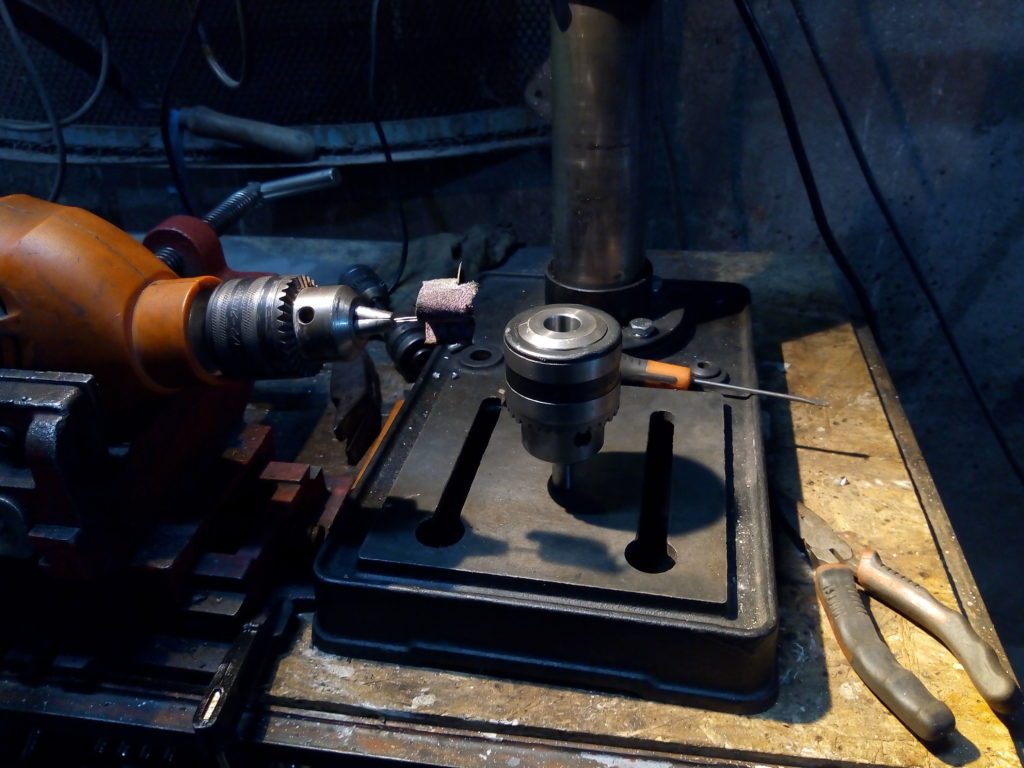
After spending a great part of the other day refurbishing a nice chuck I set out to fix some of the problems on the drill press.
The whole quill tube has a lot of play but turns out there’s a set screw loose that just makes it better.
I chucked a short section of precision ground bar and set up a dial indicator while I ran the pulley with my hand. The run out was around two tenths of millimeter. Tried again after moving the jaws and applying more force but the result was the same.
Some fumbling and a big hit with a punch removed the chuck from the shaft. There were some patches of light corrosion on both surfaces.
Even so, a dial indicator on the drive shaft showed a wobble of a couple of hundredths. That’s more than good for a machine like this.
But looking closer inside the chuck the taper it had machining marks, like concentric ridges. I didn’t know better when I first assembled it and assumed they were for improved grip or something.
I started the motor and lightly kissed the shaft with fine sandpaper, first 800 and then some 1200 grit until it was smooth to the touch.
Then I painted it with a sharpie and installed the chuck again. This time I noticed it was kind of a loose fit and sure enough when pulling it down only some parts were inked.
I held a drill on the vise and with a paperclip and progressively fine sand paper removed the roughness inside the cone. Now there are ink spots more or less evenly distributed and the indicator registered about 15 hundredths.

Long time ago I was waiting for my turn to use the weighting scale on a scrapyard when I stepped over something curious.
Inside a sturdy chunk of mud there were the remains of an electric drill but what got my attention was the keyless chuck. I asked at the counter and got it for free.
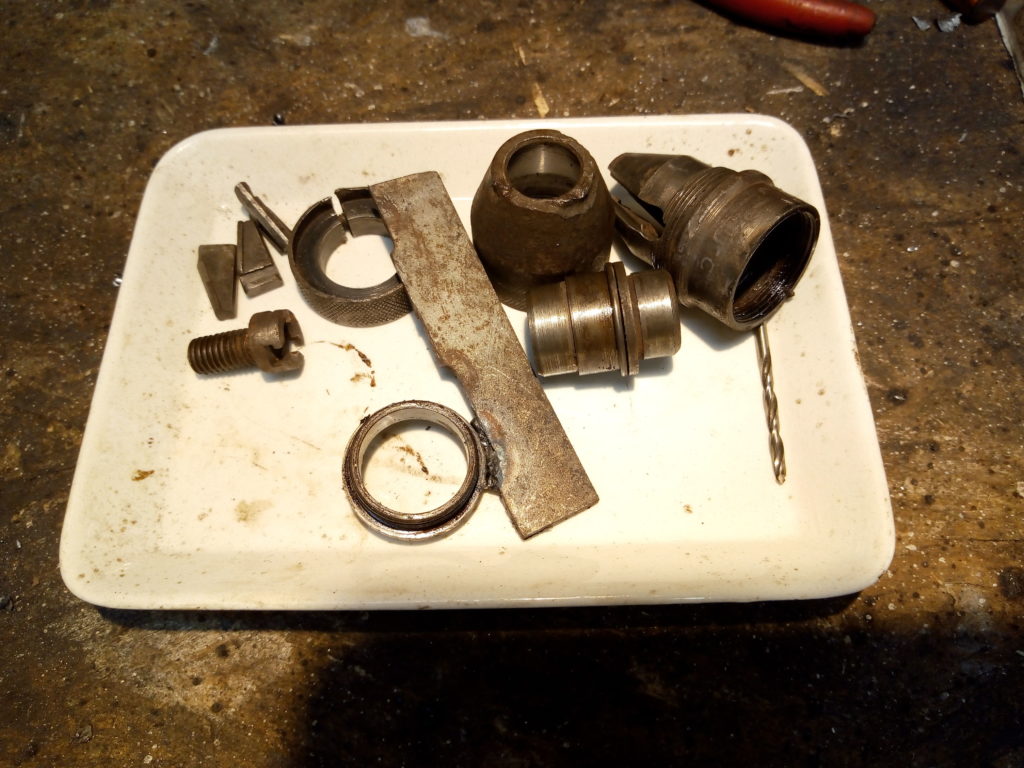
It slept for some time on a shelf until I found it again cleaning. It resisted a civilized dismantling intent so I bathed it overnight in a mix of gasoline and paint thinner.
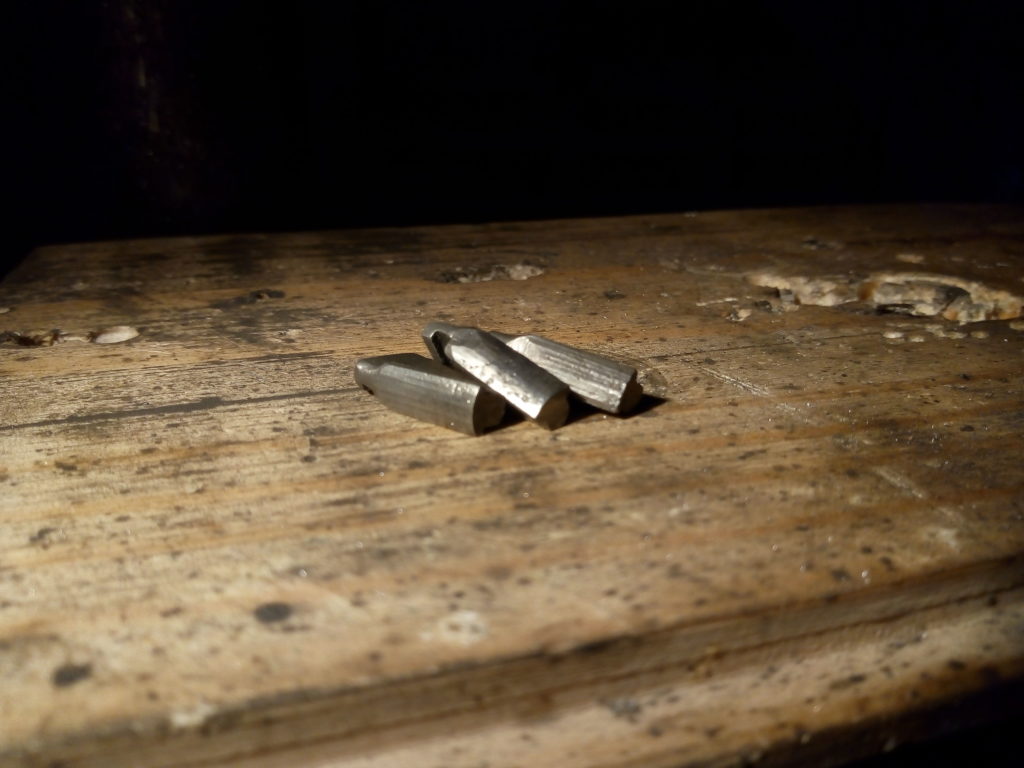
The front came out easily and looked good enough given it’s history except for a couple of spots with tool wounds and corrosion with significant missing iron. Seems it had been passivated on the inside.
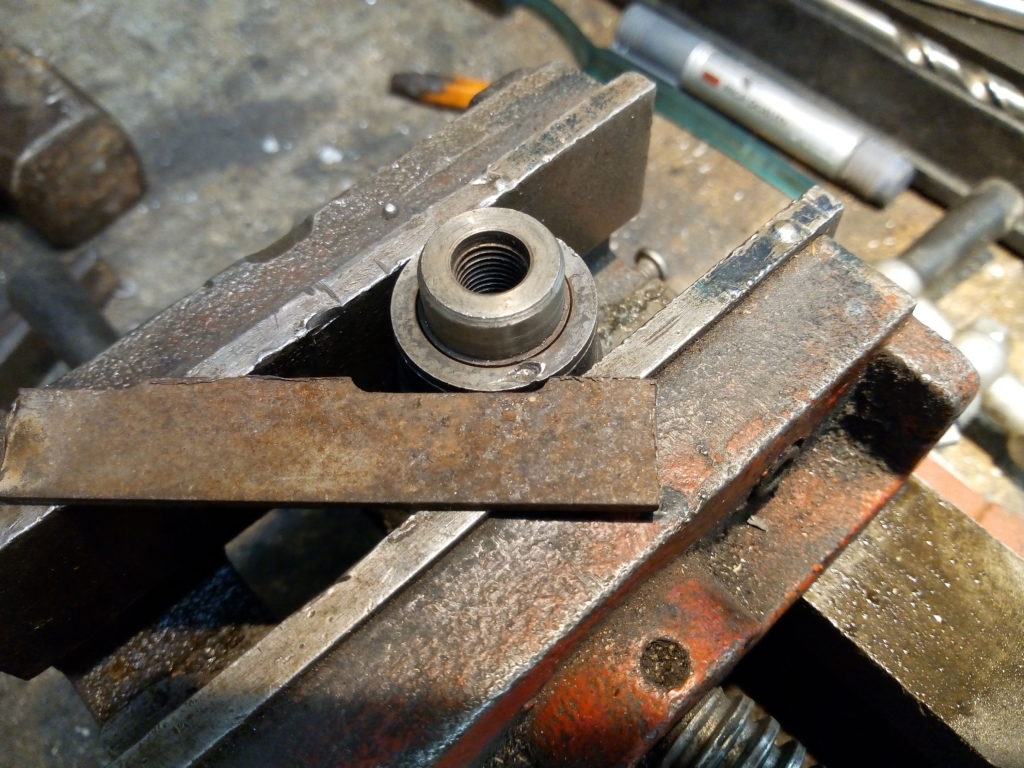
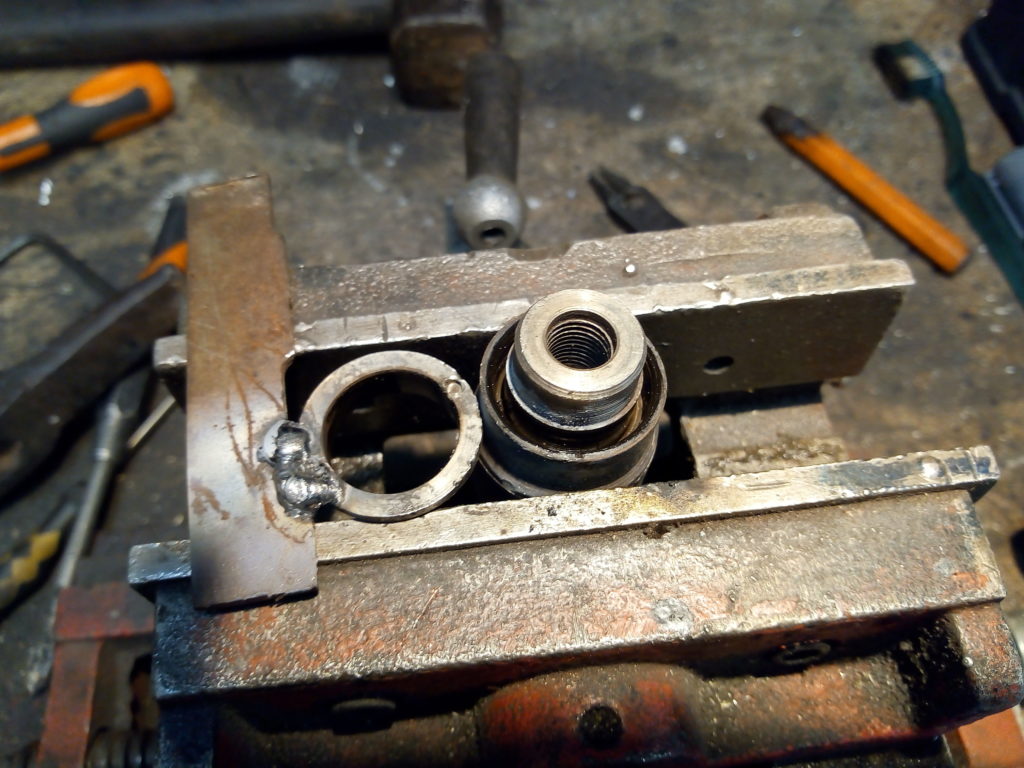
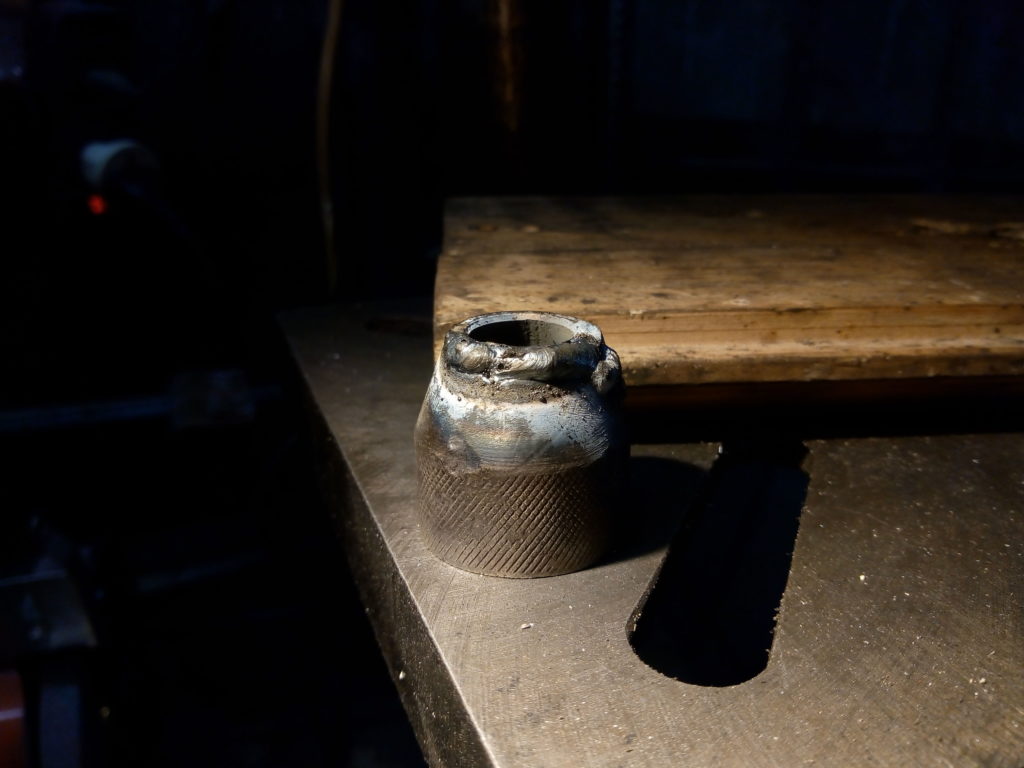
There’s a two hole pig nut on the back and that one gave more trouble. I first tried with a round nose pliers and then a punch but it only made things worse.
I used a heat gun to clear any remnant of gasoline, hoping that it would loose the threads but no cigar. So I welded a piece of scrap and with that I managed to pry it.
Compared to the rest this part looked much better. I expected a ball bearing but there was only a hardened steel ring instead.
I padded a couple of beads on the body and after a bit of careful grinding it’s like it never spent time buried.
Now I only have to fix the horrible amount of run-out and play of the drill press.
