I used clear standard automotive hoses for the steam boiler in order to have at a quick glance the water level. They are “rated” at 4 bar but having hot stuff inside certainly didn’t help and with a small hissing warning they sprung a leak that turned into a nice jet of steam.
The pressure is low but in any case standing nearby when that happened was a bit startling.
I’ve been wanting for quite a while to indulge in my steam interests and last week was the perfect moment to give them a spin.
A couple of blocks from here there’s a facility that bottles carbonated water but also rents hot/cold dispensers. From time to time they swap the boilers when the limescale fouls them; discarding the whole unit, thermostat, heater and all.
Every time I walk past their door I pick one or two if they are not pitted. They are very nice, made of stainless and have a lot of uses.
That journey led me into Traitlets and I wish I knew about them before.
For most of my stuff I use argparse, blinker (when not using GLib) and plain properties.
I knew about traits from long ago but what really liked from a first look is their solution to configuration management. It’s clean, self documenting, type checked, composable and can be python code.
I’m still a bit torn about having a complete programming language as a user configuration tool instead of a DSL or stuff like ini-files, json or the good dialect of yaml.
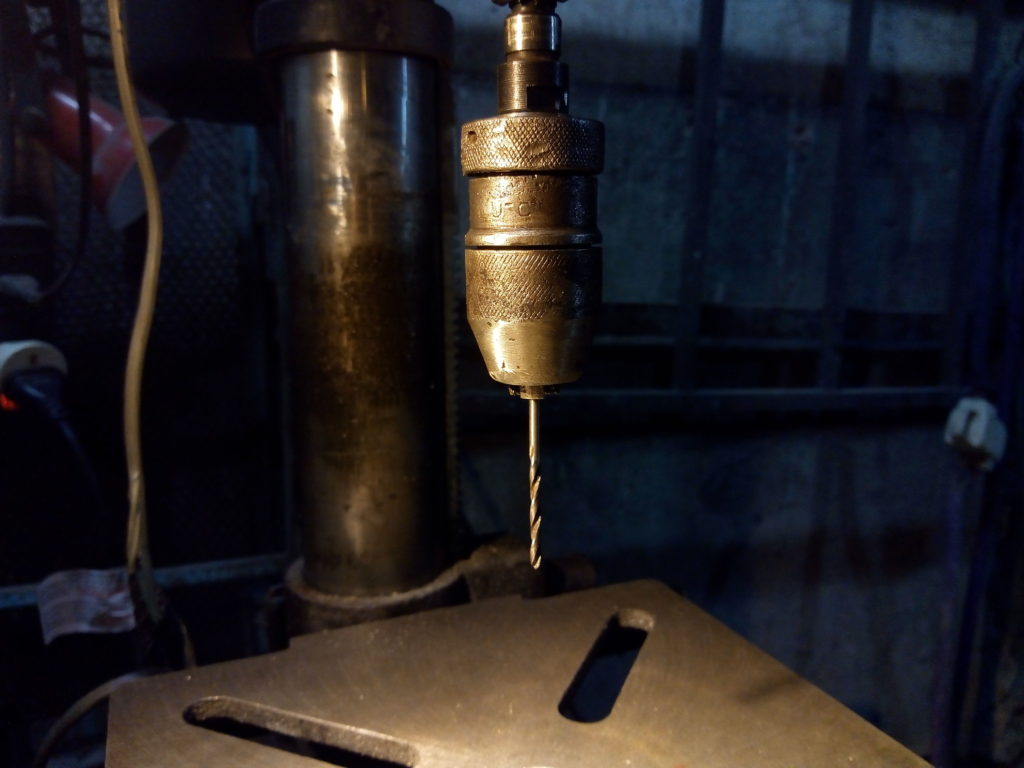
After spending a great part of the other day refurbishing a nice chuck I set out to fix some of the problems on the drill press.
The whole quill tube has a lot of play but turns out there’s a set screw loose that just makes it better.
I chucked a short section of precision ground bar and set up a dial indicator while I ran the pulley with my hand. The run out was around two tenths of millimeter. Tried again after moving the jaws and applying more force but the result was the same.
Some fumbling and a big hit with a punch removed the chuck from the shaft. There were some patches of light corrosion on both surfaces.
Even so, a dial indicator on the drive shaft showed a wobble of a couple of hundredths. That’s more than good for a machine like this.
But looking closer inside the chuck the taper it had machining marks, like concentric ridges. I didn’t know better when I first assembled it and assumed they were for improved grip or something.
I started the motor and lightly kissed the shaft with fine sandpaper, first 800 and then some 1200 grit until it was smooth to the touch.
Then I painted it with a sharpie and installed the chuck again. This time I noticed it was kind of a loose fit and sure enough when pulling it down only some parts were inked.
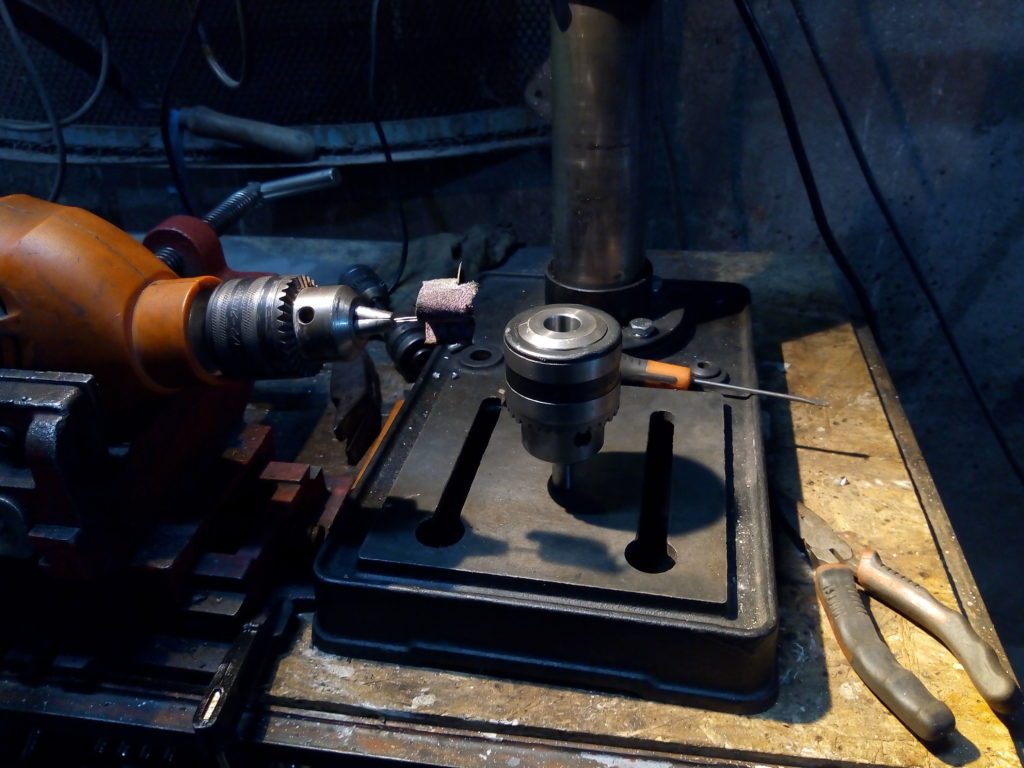
I held a drill on the vise and with a paperclip and progressively fine sand paper removed the roughness inside the cone. Now there are ink spots more or less evenly distributed and the indicator registered about 15 hundredths.
Long time ago I was waiting for my turn to use the weighting scale on a scrapyard when I stepped over something curious.
Inside a sturdy chunk of mud there were the remains of an electric drill but what got my attention was the keyless chuck. I asked at the counter and got it for free.
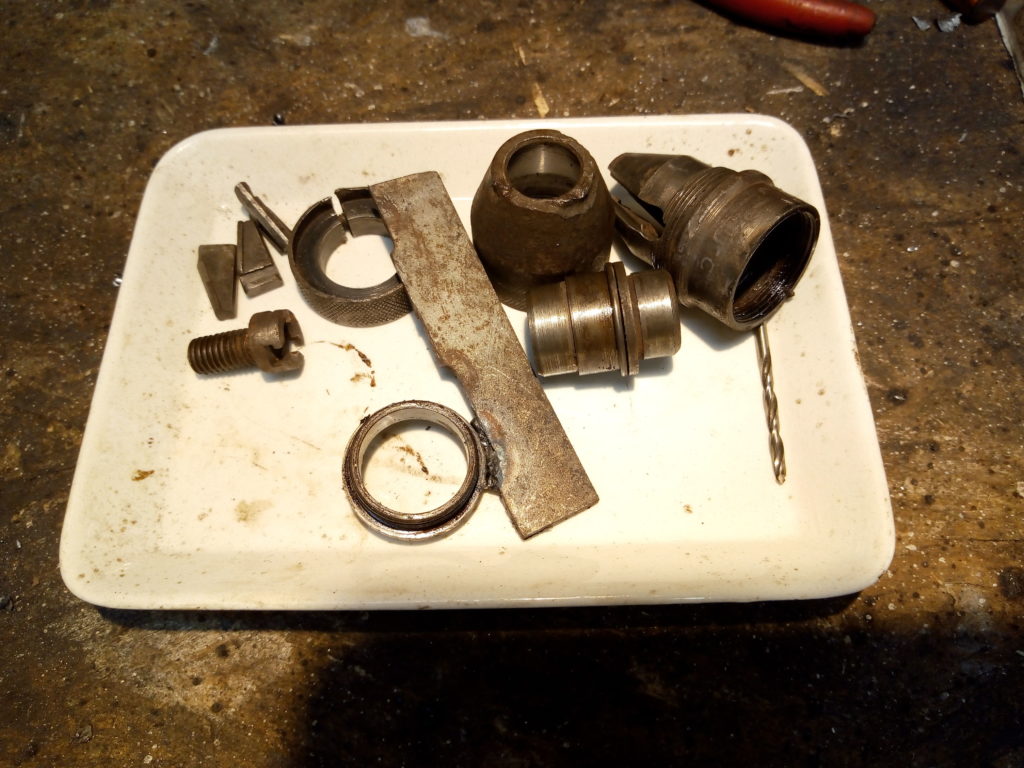
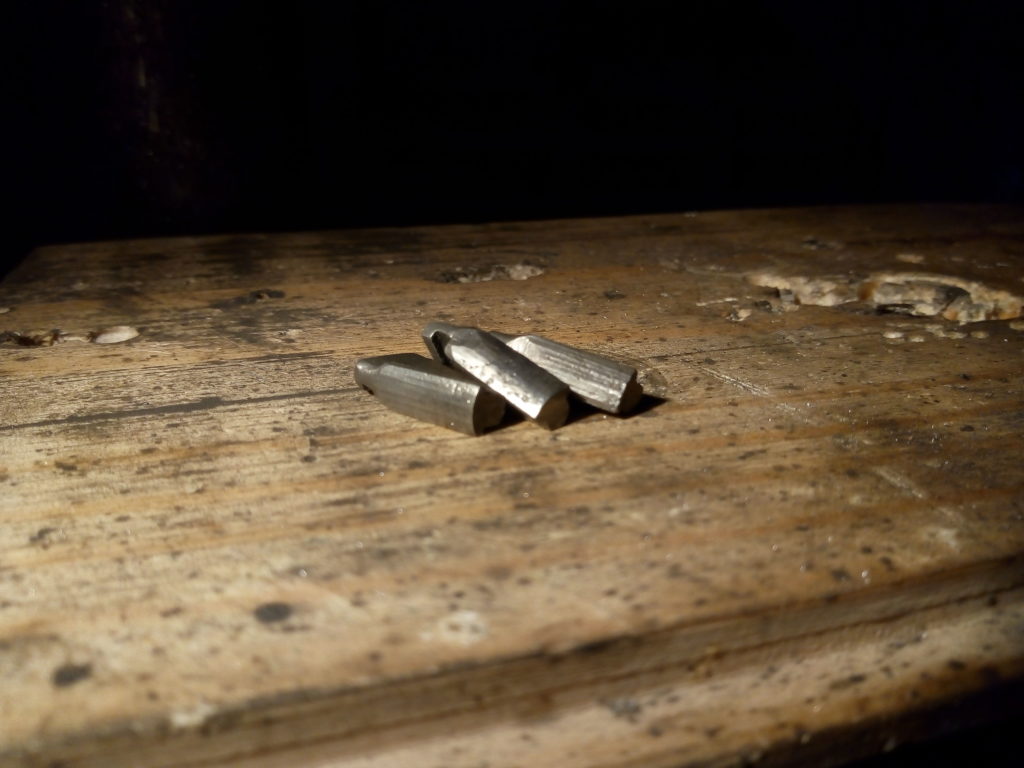
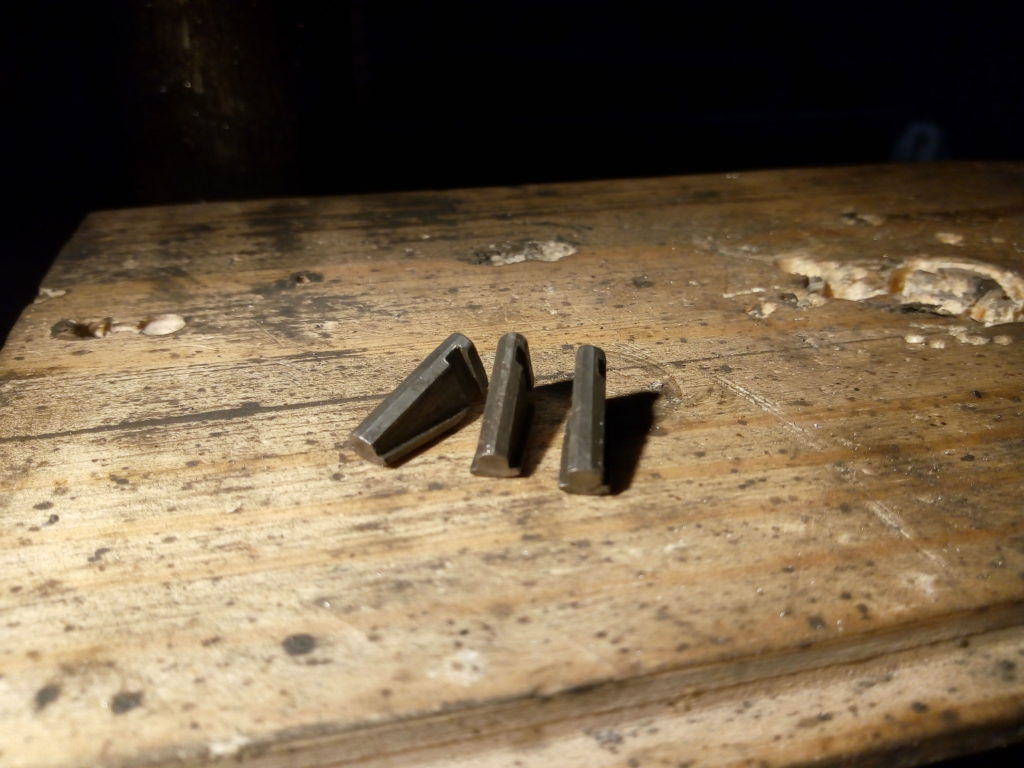
It slept for some time on a shelf until I found it again cleaning. It resisted a civilized dismantling intent so I bathed it overnight in a mix of gasoline and paint thinner.
The front came out easily and looked good enough given it’s history except for a couple of spots with tool wounds and corrosion with significant missing iron. Seems it had been passivated on the inside.
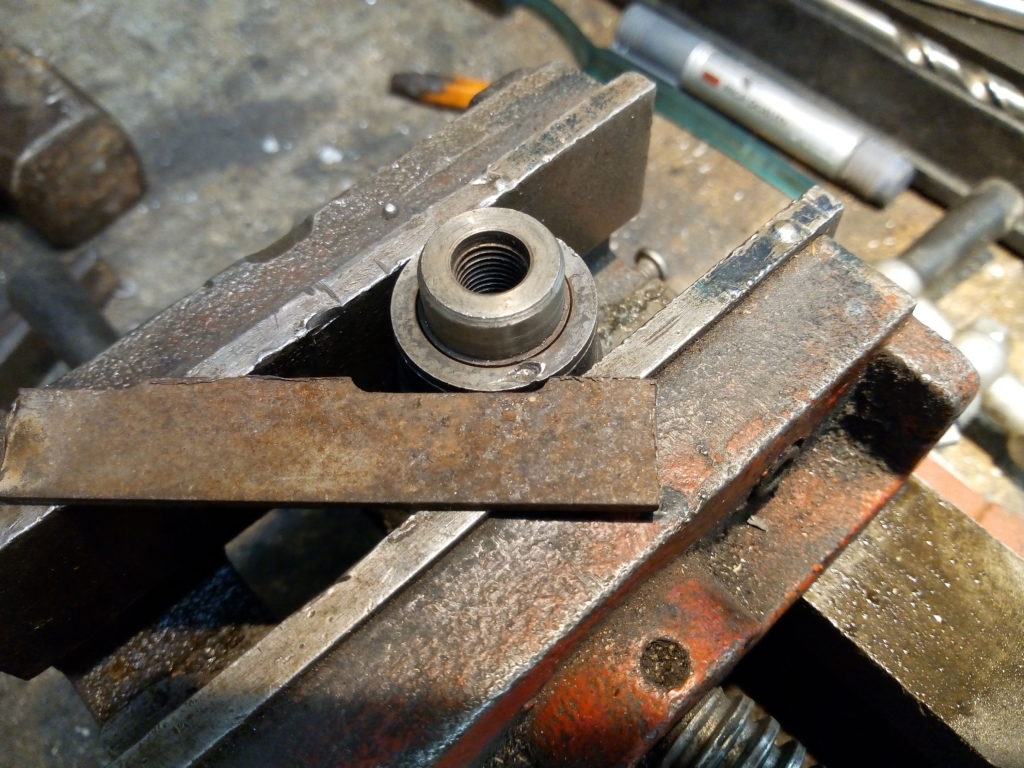
There’s a two hole pig nut on the back and that one gave more trouble. I first tried with a round nose pliers and then a punch but it only made things worse.
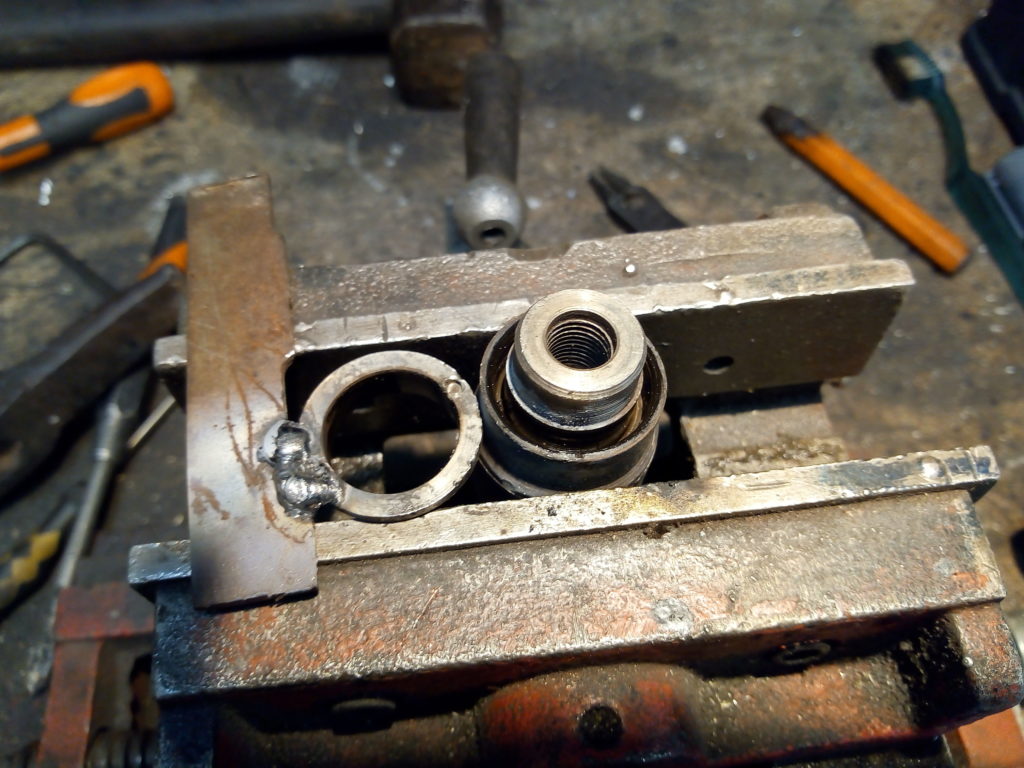
I used a heat gun to clear any remnant of gasoline, hoping that it would loose the threads but no cigar. So I welded a piece of scrap and with that I managed to pry it.
Compared to the rest this part looked much better. I expected a ball bearing but there was only a hardened steel ring instead.
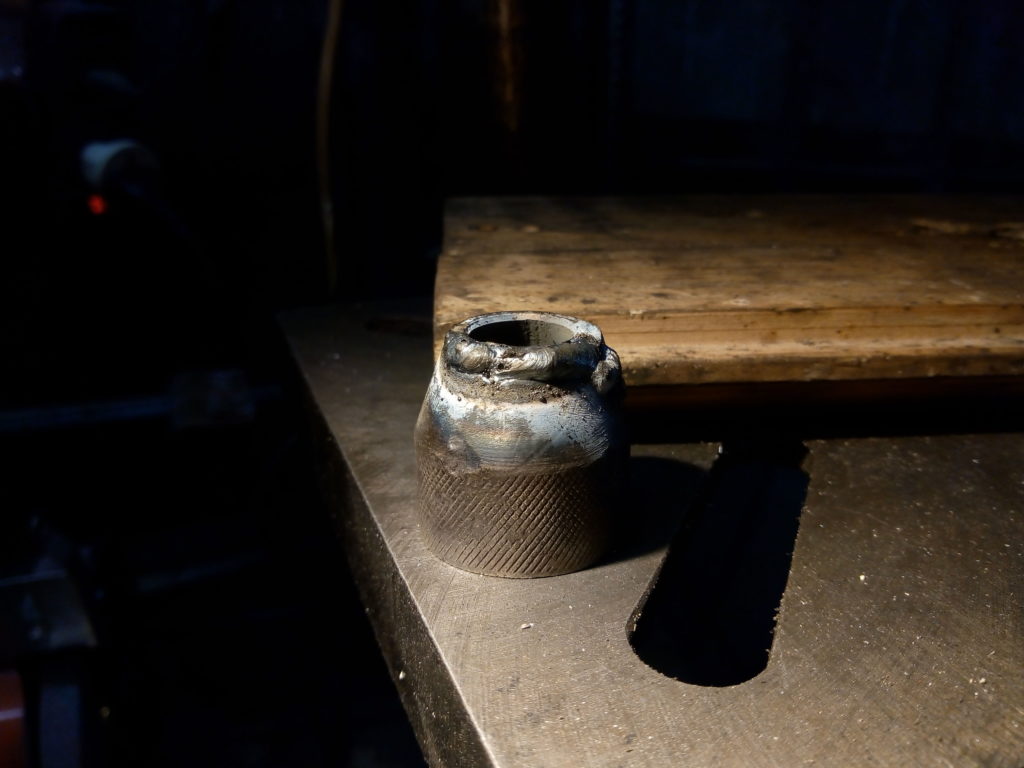
I padded a couple of beads on the body and after a bit of careful grinding it’s like it never spent time buried.
Now I only have to fix the horrible amount of run-out and play of the drill press.
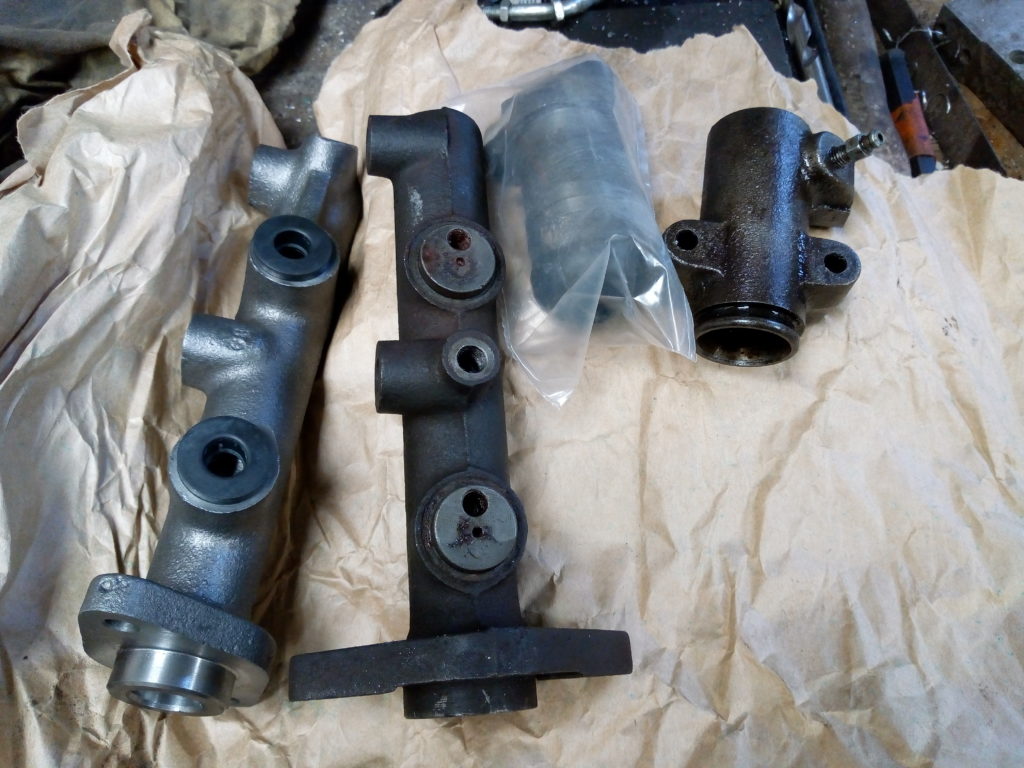
Even before taking apart the clutch cylinders I knew I needed (and wanted) to change them for new parts. And today they arrived from the mail. But with a small twist:
Peugeot 504 wrong style of brake and clutch cylinders
Fortunately the seller agreed to exchange them, so I repackaged the wrong parts (because the hoses and the other pump were the right ones) and dropped the box at the mail.
I’m amazed that even with that hiccup it was cheaper to order them from a parts store at the other corner of the province than buying locally.
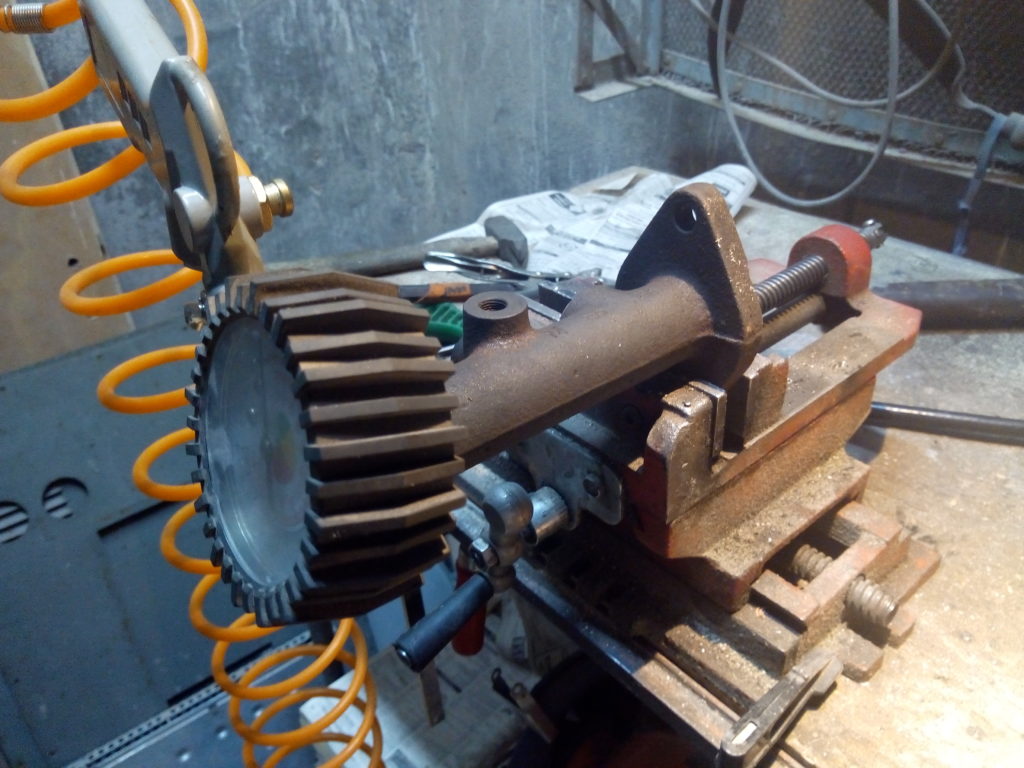
Just for kicks I wanted to see what’s inside the brake master cylinder but it was really really stuck.
First I enlarged the recess on the piston a bit and used a half inch tap to try and grab it. It turned slightly but then the threads snapped.
My curiosity called for extreme measures and I conjured the power of the air to aid me.
Rummaging through the jar of pipe fittings I found a combination that allowed me to connect the cylinder to the pistol I use to pump the tires.
I gently increased the pressure until the innards flew across the table. This was sketchy and unsafe as fuck. Think of a potato cannon but throwing a chunk of metal.
Peugeot 504: using compressed air to remove brake cylinder piston
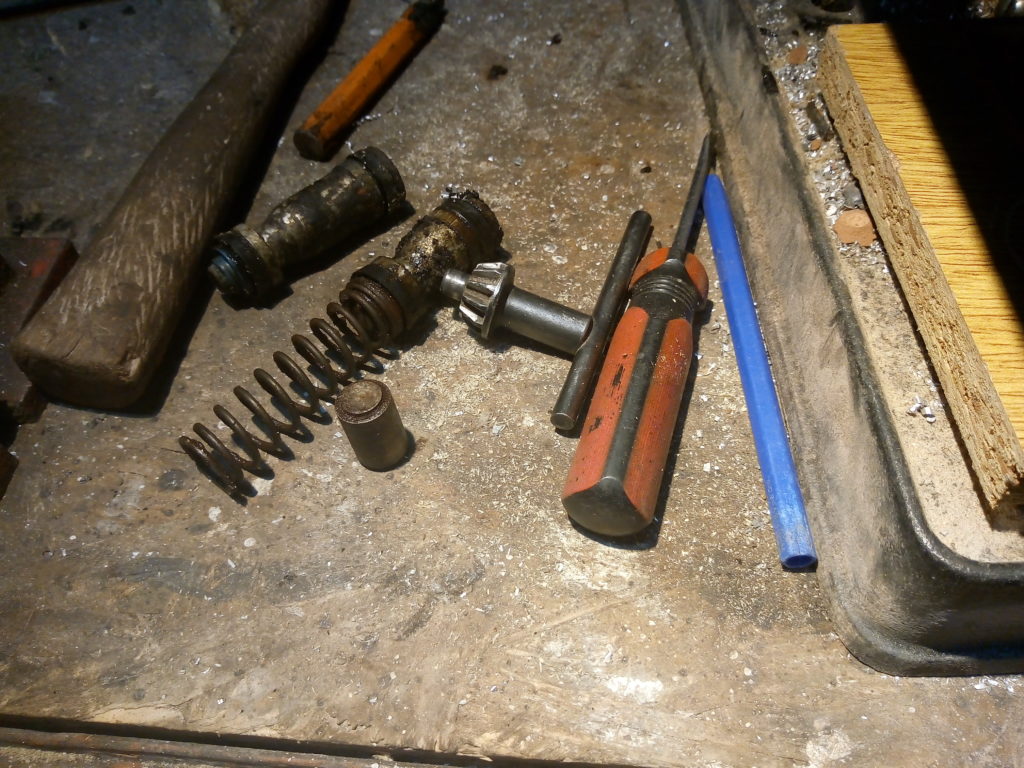
The pistons were more or less acceptable save for rubber and dirt deposits. But some of the seals almost disintegrated when touched.
Long ago I won a lot of used tools at an auction. Among them there was a small two ton jack.
Overall it was in fair condition but the lever was really hard to move, so I left it with other low priority things to repair.
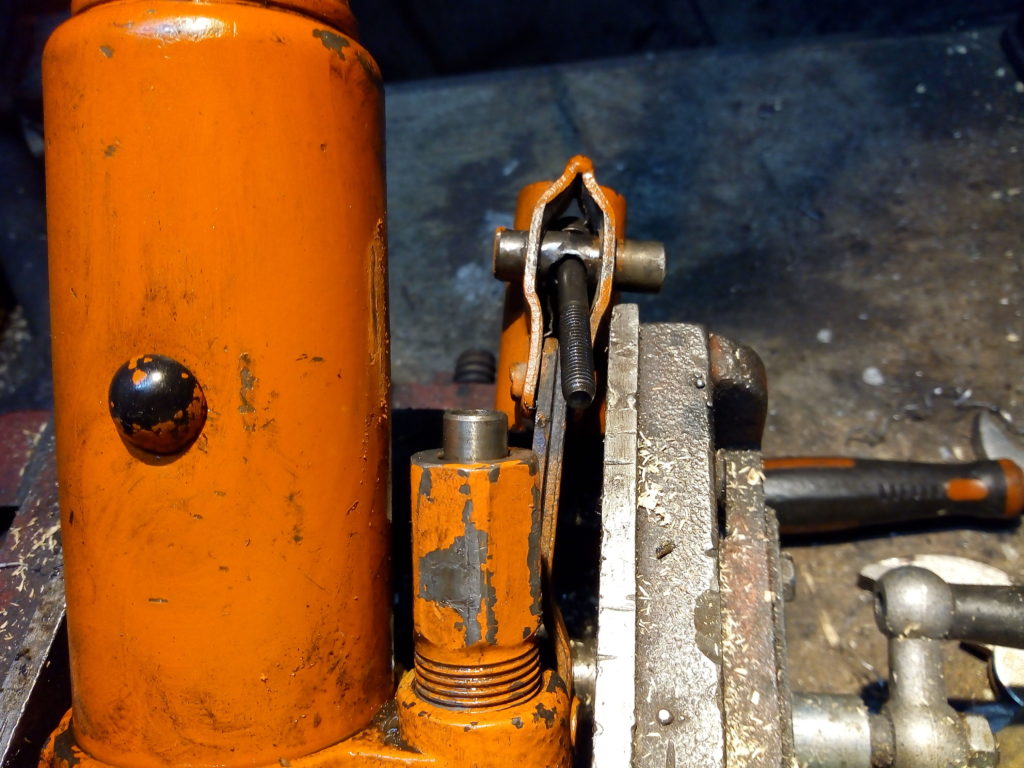
Upon a closer look the smaller piston was bent. I chucked it into a vise and tried to loose the nuts but they were firmly stuck.
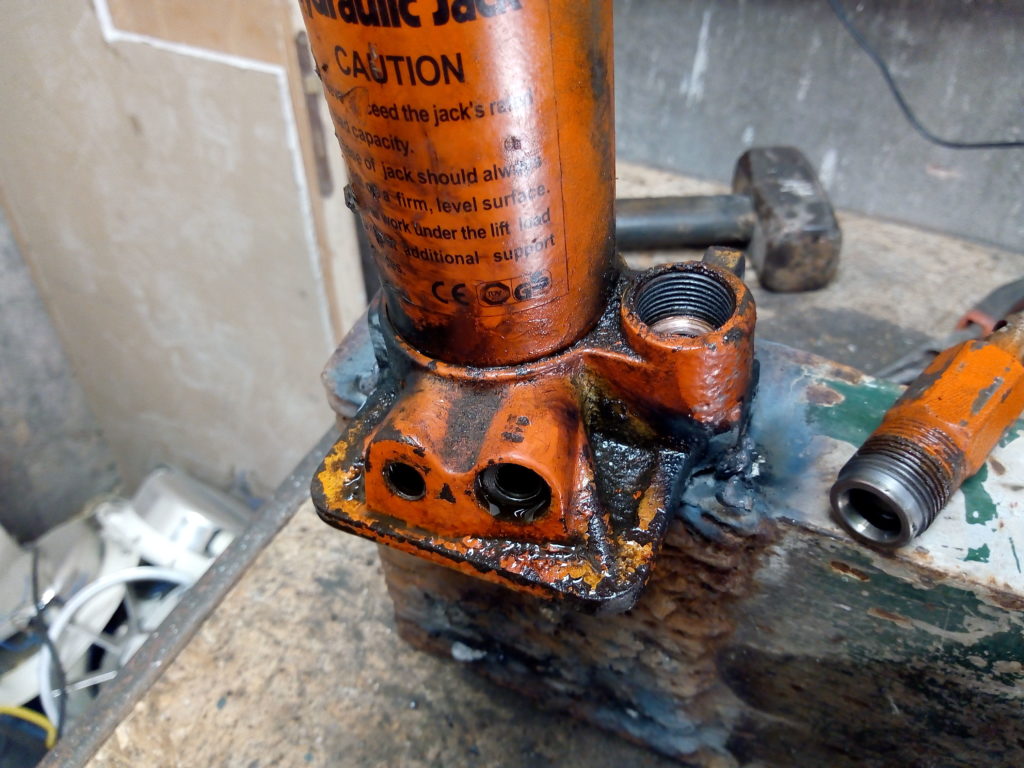
I cleaned the base with a rag and wire brush and then welded it to a piece of iron channel. I love 6010 rods. I also learned that whatever was used as hydraulic oil catches fire with ease.
Laying on the floor with one foot on it I used a big wrench and a hammer, this time succeeding in getting it apart.
Bottle jack in pieces, welded to channel iron
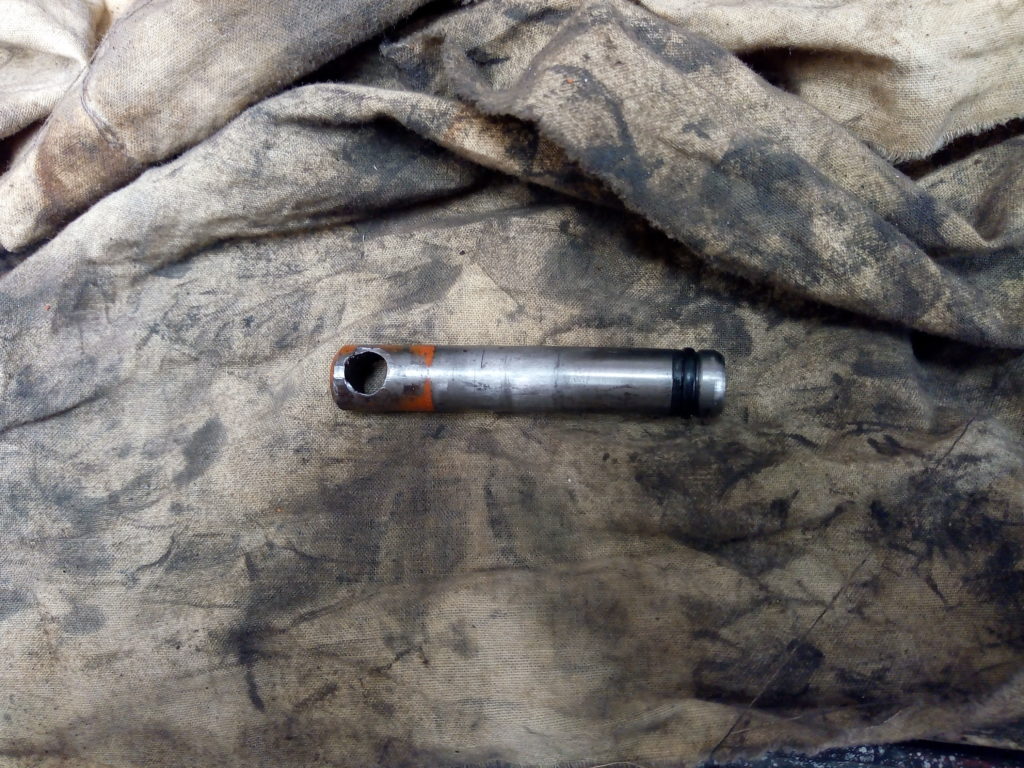
It doesn’t seem like much but this small curvature made it almost impossible to pump:
Bottle jack: bent piston
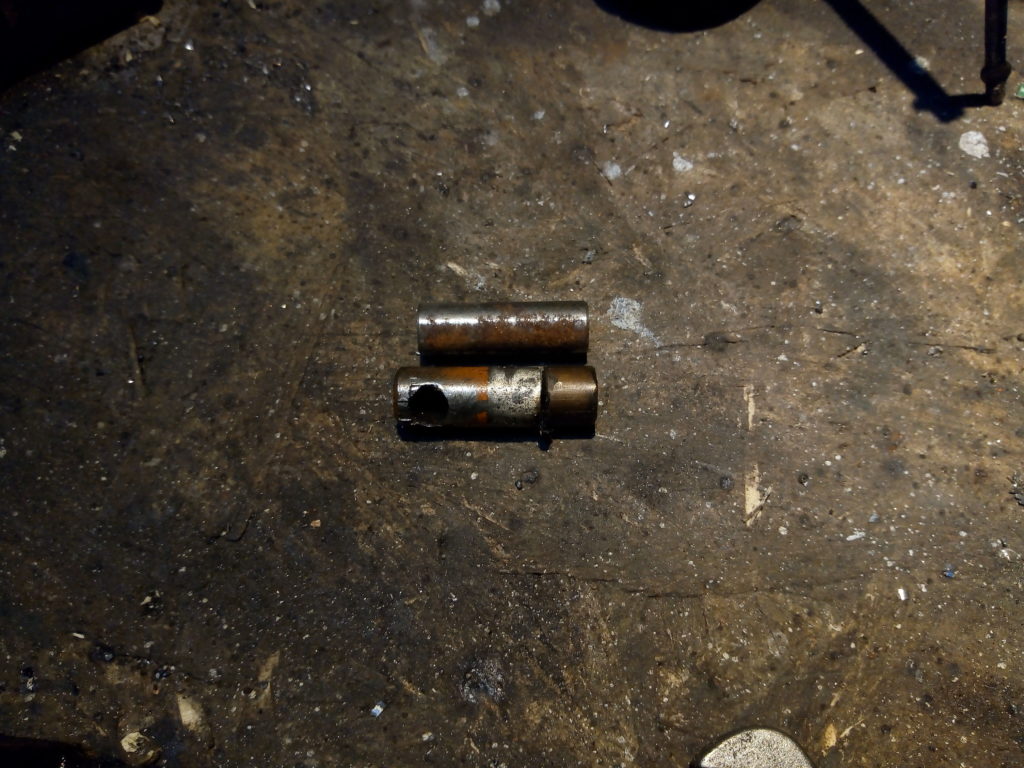
I decided against straightening because with the tools I have at hand it would be very certain that I’ll scratch the good part of it and thus completely ruining the jack. So I cut the bent parts with an angle grinder.
Just by chance the parts that were badly out of shape are almost the same length as some ground rods I have from a textile machine.
Bottle jack: bent piston cutouts and stock rod
The plan goes like this: drill and tap the remains of the original piston, make the rod hole bigger and use a long bolt to hold them in place.
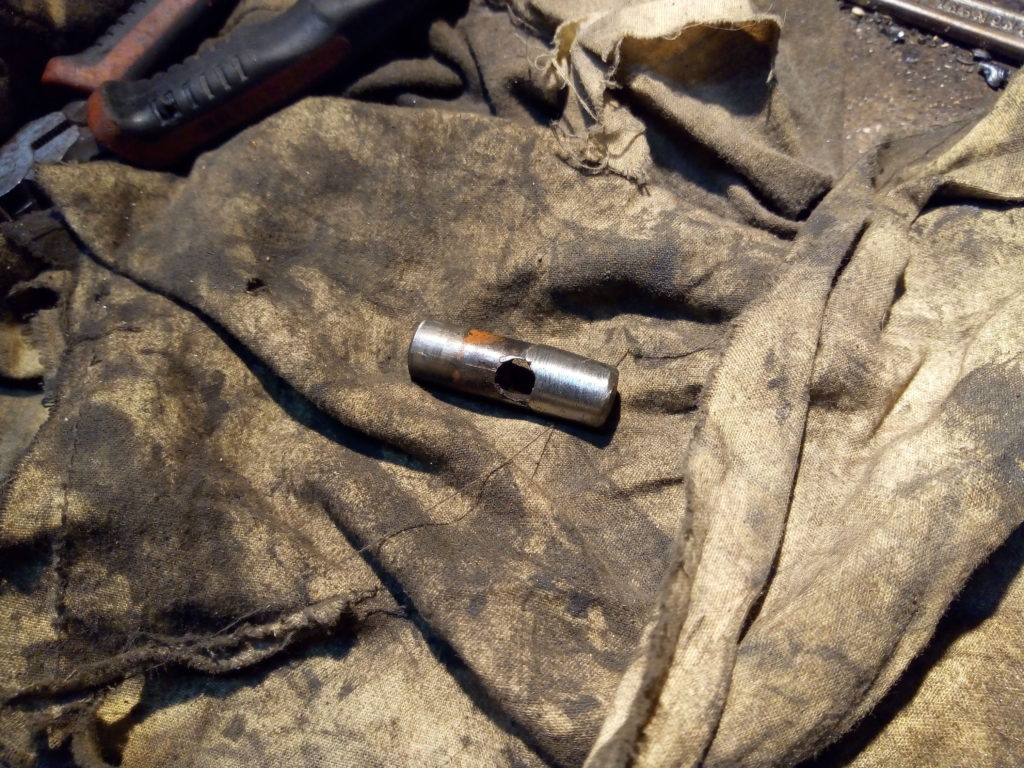
Bottle jack: center punch on the better side of the piston
Bottle jack: enlarging stock rod
I used the cutouts and some small welding rods from the trash to make a new cross handle.
Bottle jack: making a new handle with old piston
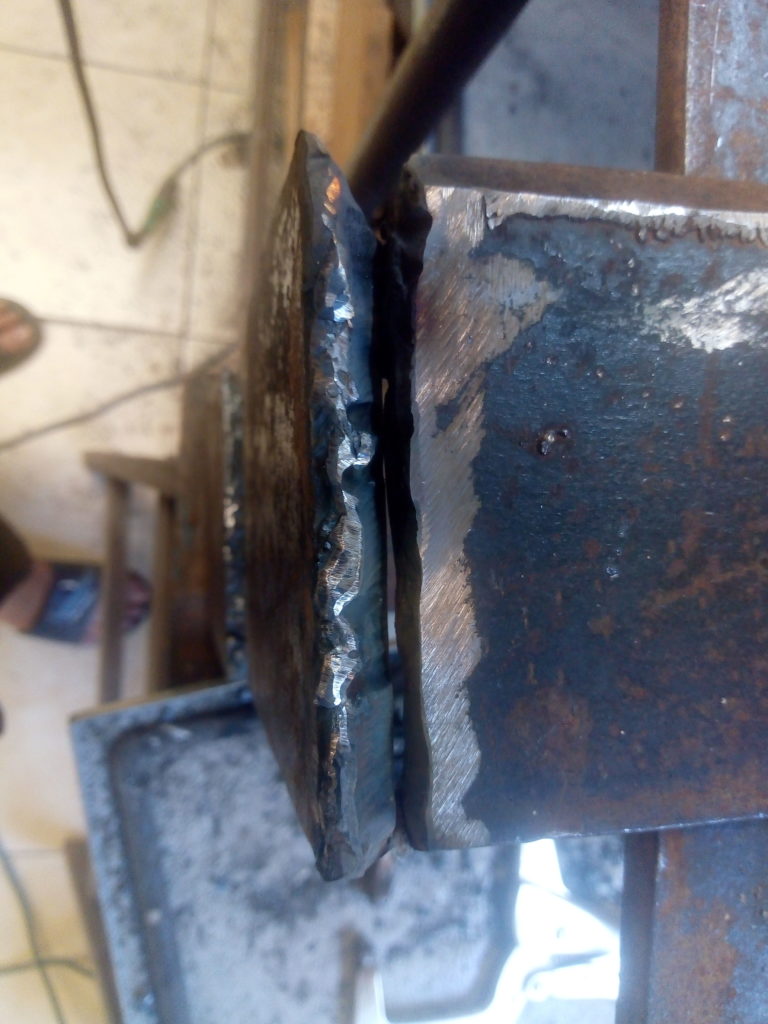
I’m very proud of that weld, the ripples and profile are very smooth and consistent. But I had to grind it flush.
This is before the final assembly, now I can operate it with a single finger.
Surprisingly the master cylinder for the clutch was in very good condition, not scraped nor corroded and the seals looked fine. The piston came out with a light tap.
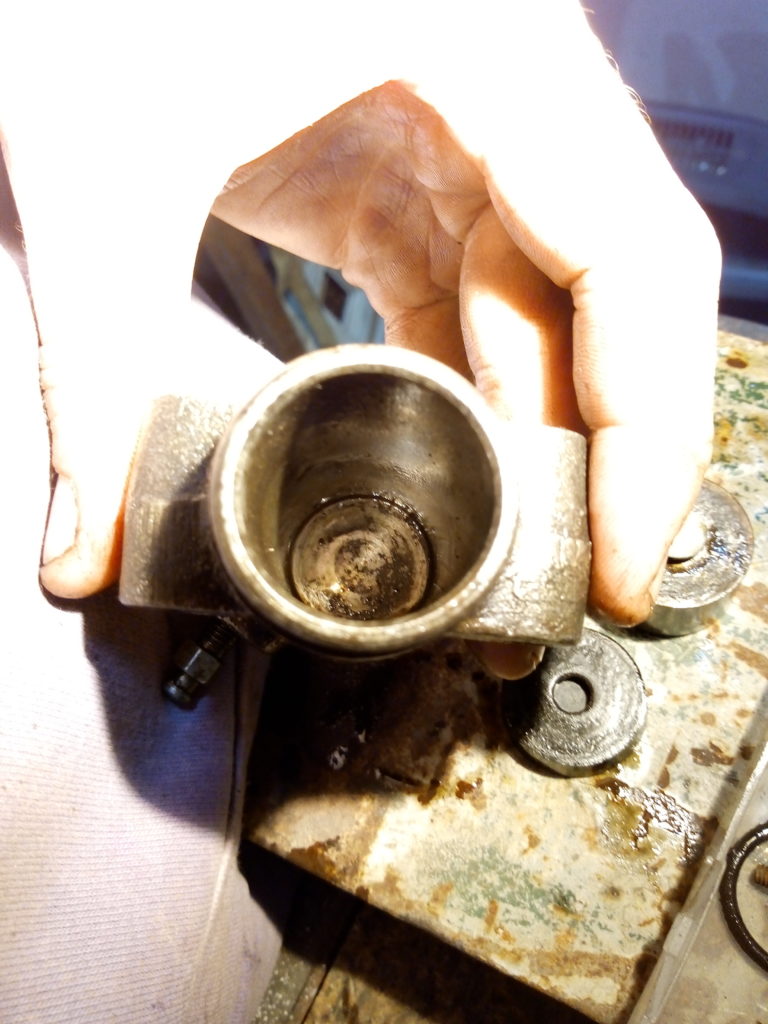
However in the slave things were quite different. Using lots of penetrating oil and a vise as a makeshift press I was able to move the piston but it refused to come out completely on its own.
So I decided to pump it out using old engine oil and the working master cylinder. I clamped it to the drill press and slowly filled it with 15W40.
Getting rid of all the air bubbles took a longer time than I expected.
Peugeot 504 hydraulic clutch: pumping master cylinder with engine oil
Finally, the slave piston was released. The seal was ok-ish but both the piston and the inner walls had pitting and scratches.
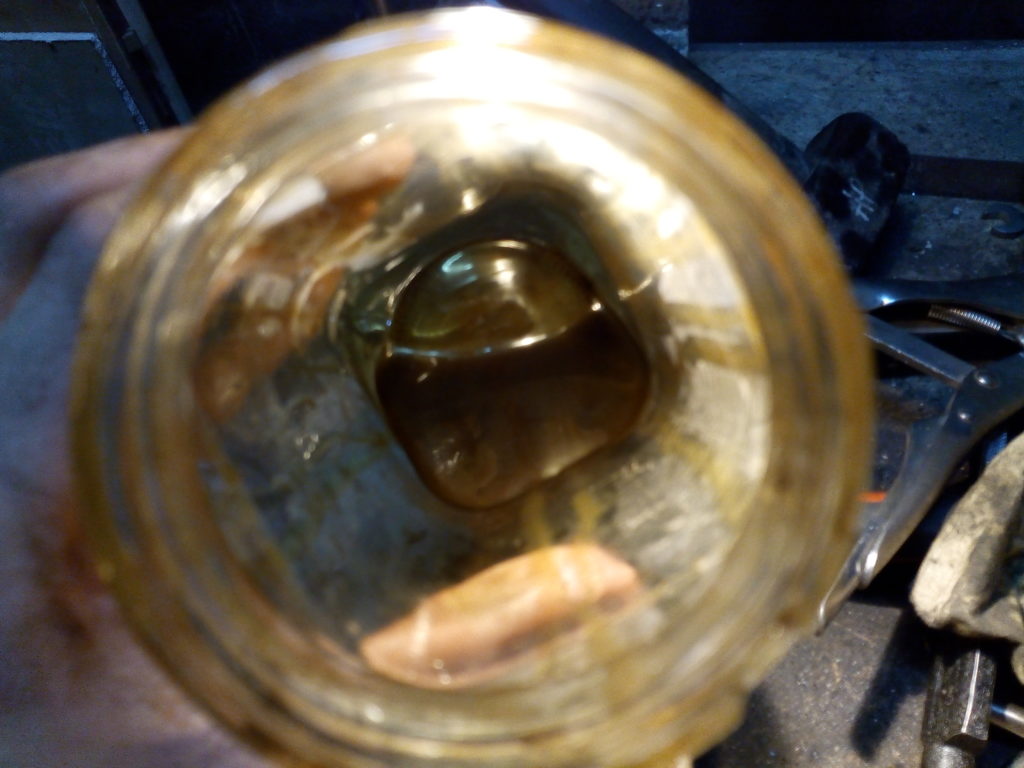
I hung everything upside down and loosened the purging screws to collect the oil. I thought it was a lot more than this but it’s about a small coffee cup.
Peugeot 504 hydraulic clutch: all the oil in the system
Quite a while ago (in the last century nonetheless) my idea of a productive day entailed writing a lot of code, measured by size in any suitable metric.
Lately I’ve been writing less in volume but I realize that I spend a greater time thinking about the problem at hand as a whole and that it happens mostly in the background while I’m doing something else. By the time I’m again at the workstation everything falls into place.
Also, when stepping aside and contemplating whatever I engineered I can’t help to feel anything but pride. Perhaps except for the documentation I build things from the get go thinking of what I would like to have were I a library user, on terms of building blocks.
During the last two weeks I built a library to parse a protocol called LX200 used to control telescopes and I can’t be happier with the result (for now it’s at https://github.com/telescopio-montemayor/python-lx200 ). The first one was a roller coaster, due to some other issues I went back to a night owl schedule and I can’t remember when was the last time I had such prolonged and intense periods of flow. I also taught myself asyncio.
It’s terse, concise, and (mostly) well structured. My former self would’ve made a mess of a state machine tied together with pages of if statements that worked, for sure, but was a pain to extend or correct. Of course looking down the path and leveraging years of experience this things seem obvious now.
A couple of days ago I started to learn FreeCAD, mostly for its FEM analysis mode and to build a couple of construction plans.
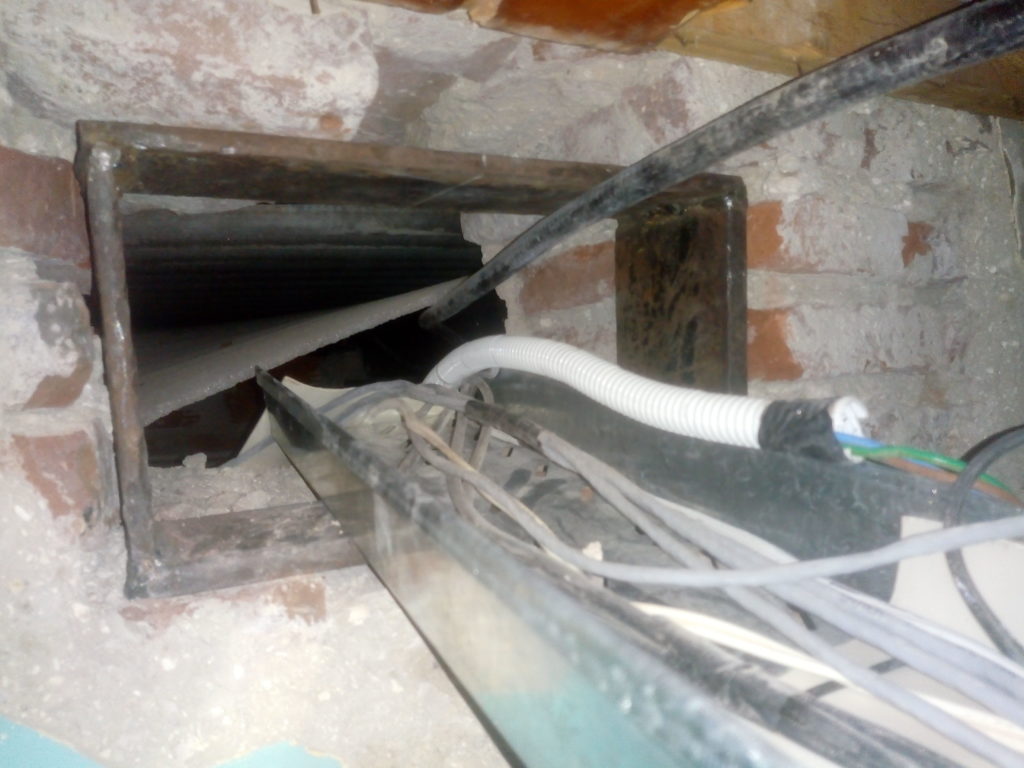
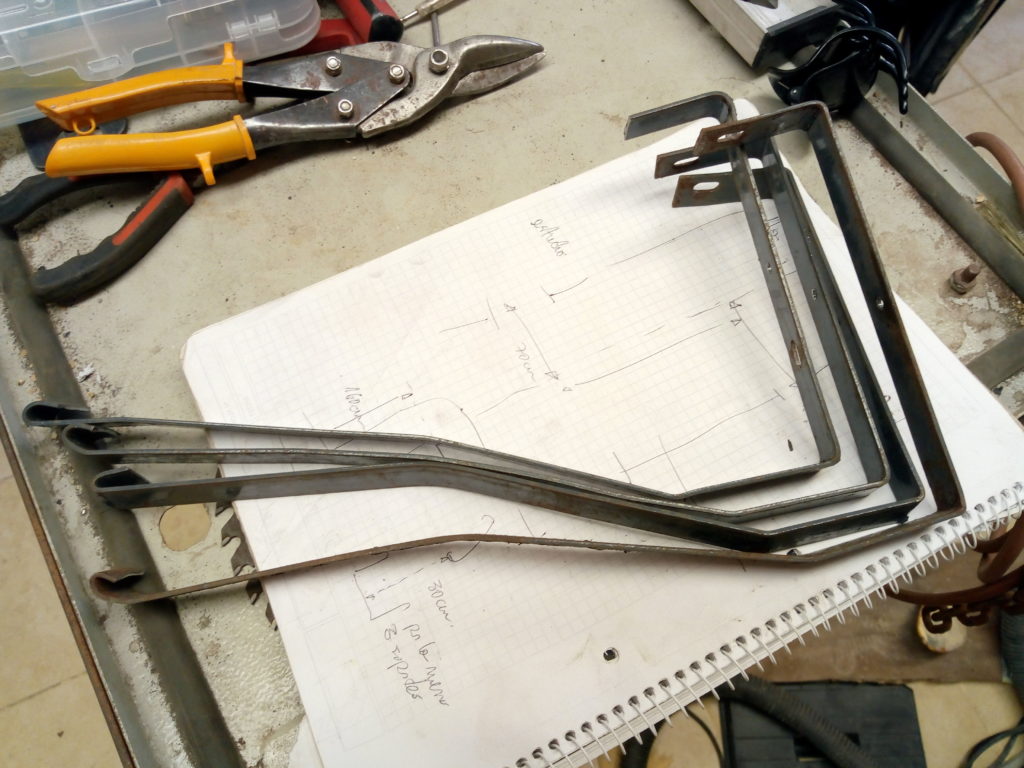
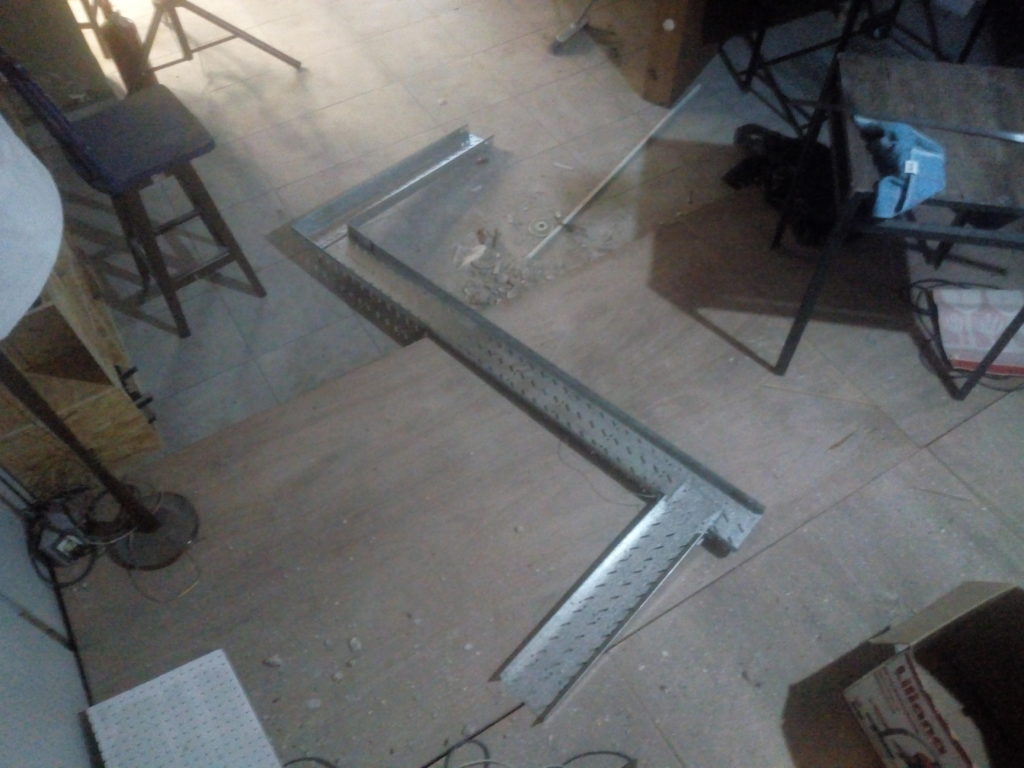
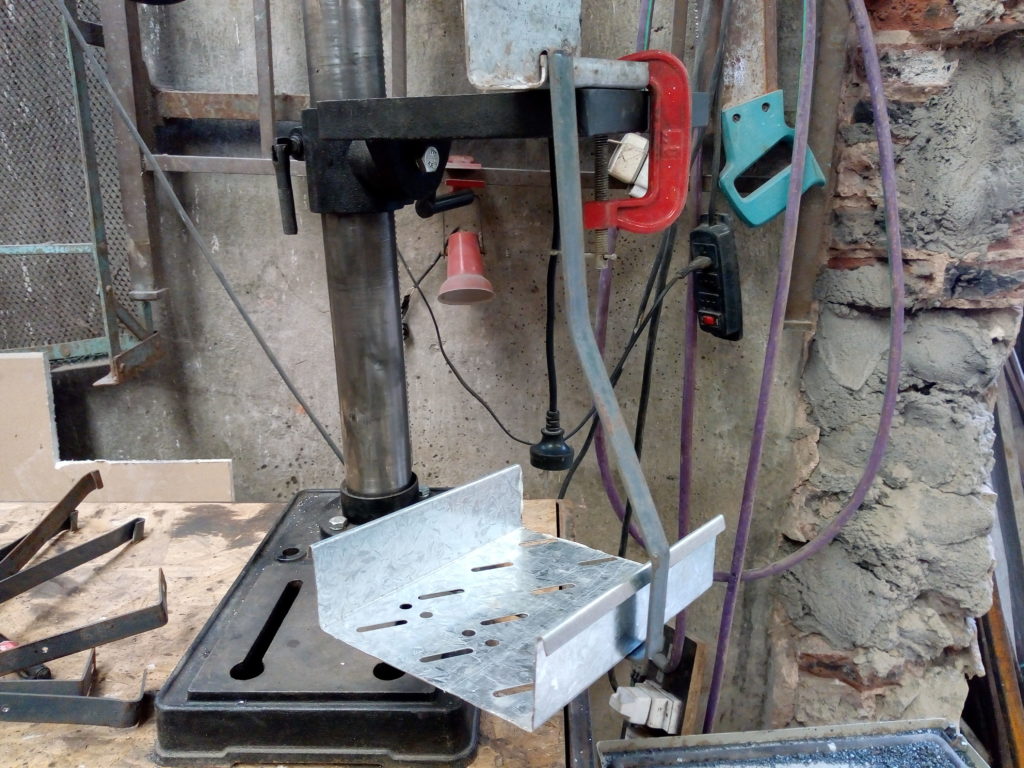
I made another part of the cable trays for our comms closet. Initially I wanted to use FreeCAD for that but at the end it was faster to do a bit of trig and sketch the cuts on paper. It’s held in place with a couple of rivets. I also added a layer of pvc to shield the cables from the metal edges. Fits like a glove.
Cable tray bend
I also started to build a steel support for one of the walls. We made a big opening for cables and I’m a bit uneasy about the lack of support.