Volví a meter parches.
Volví a escuchar a Björk.
Volví a llorar.
Volví a bailar.
Volví a comer galletas de miel acompañadas de un carajillo.
Sigo siendo el mismo boludo de siempre, solo algo mas tibio.
Volví a meter parches.
Volví a escuchar a Björk.
Volví a llorar.
Volví a bailar.
Volví a comer galletas de miel acompañadas de un carajillo.
Sigo siendo el mismo boludo de siempre, solo algo mas tibio.
This is more or less a direct translation of the examples found at gstreamer/tests/examples/controller/*.c to their equivalents using the gi bindings for Gstreamer under Python. The documentation can be found here. Reading the source also helps a lot.
The basic premise is that you can attach a controller to almost any property of an object, set an interpolation function and give it pairs of (time, value) so they are smoothly changed. I’m using a pad as a target instead of an element just because it fits my immediate needs but it really can be any Element.
First you need to import Gstreamer and initialize it:
#!/usr/bin/python

import gi

import sys

from gi.repository import GObject

gi.require_version('Gst', '1.0')

from gi.repository import Gst

from gi.repository import GstController

from gi.repository import Gtk

from gi.repository import GLib
GObject.threads_init()
Gst.init(sys.argv)
Then create your elements. This is by no means the best way but lets me cut a bit on all the boilerplate.
p = Gst.parse_launch ("""videomixer name=mix ! videoconvert ! xvimagesink

videotestsrc pattern="snow" ! videoconvert ! mix.sink_0

videotestsrc ! videoconvert ! mix.sink_1

""")
m = p.get_by_name ("mix")
s0 = [pad for pad in m.pads if pad.name == 'sink_0'][0]
s0.set_property ("xpos", 100)
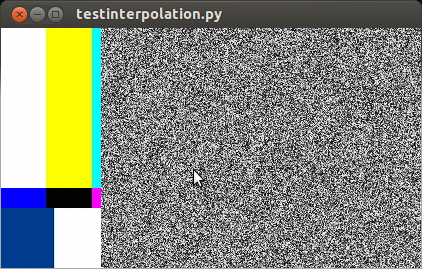
Here I created two test sources, one with bars and another with static that also has an horizontal offset. If we were to start the pipeline right now ( p.set_state (Gst.State.PLAYING) ) we would see something like this:
So far it works. Now I’d like to animate the alpha property of s0 (the sink pads of a videomixer have interesting properties like alpha, zorder, xpos and ypos). First we create a control source and set the interpolation mode:
cs = GstController.InterpolationControlSource()

cs.set_property('mode', GstController.InterpolationMode.LINEAR)
Then we create a control binding for the property we want to animate and add it to our element:
cb = GstController.DirectControlBinding.new(s0, 'alpha', cs)

s0.add_control_binding(cb)
It is worth noting that the same control source can be used with more than one control binding.
Now we just need to add a couple of points and play:
cs.set(0*Gst.SECOND, 1)

cs.set(4*Gst.SECOND, 0.5)

p.set_state (Gst.State.PLAYING)
If you are not running this from the interpreter remember to add GObject.MainLoop().run() , otherwise the script will end instead of keep playing. Here I’ve used absolute times, to animate in the middle of a playing state you need to get the current time and set the points accordingly, something like this will do most of the cases:
start = p.get_clock().get_time() # XXX: you better check for errors

end = start + endtime*Gst.SECOND
You can get the controller and control source of an element with:
control_binding = element.get_control_binding('property')

if control_binding:

    control_source = control_binding.get_property('control_source')
For a little more than a month I was working with GStreamer on a cool project. Almost everybody told me that GStreamer is really nice if all you want to build is a player but things tend to get difficult really soon for other uses.
For the first week I struggled to do even the simplest stuff but after that it became quite manageable and I barely had to think. Except when dealing with dynamically removing and adding elements. And renegotiation errors. Fuck. I remove a source. I add another one, exactly like the former, and bam! “streaming task paused, reason not-negotiated (-4)”. Bummer. I resorted to go PLAYING – READY – PLAYING but it feels plainly wrong.
Also, I don’t know the difference between sinc, sync and sink anymore.
Este mes vino bastante salada la boleta de luz en la radio, así que me puse en campaña de automatizar el apagado del equipo.
Una de las formas mas directas es aprovechar el transporte de programa para enviar comandos ya sea usando tonos fuera del rango audible o simplemente con dtmf al igual que los antigüos contestadores. Casualmente no podía conseguir acá un decodificador y tuve que rescatar uno de un viejo teléfono (después me di
cen que junto porquerías al divino botón…).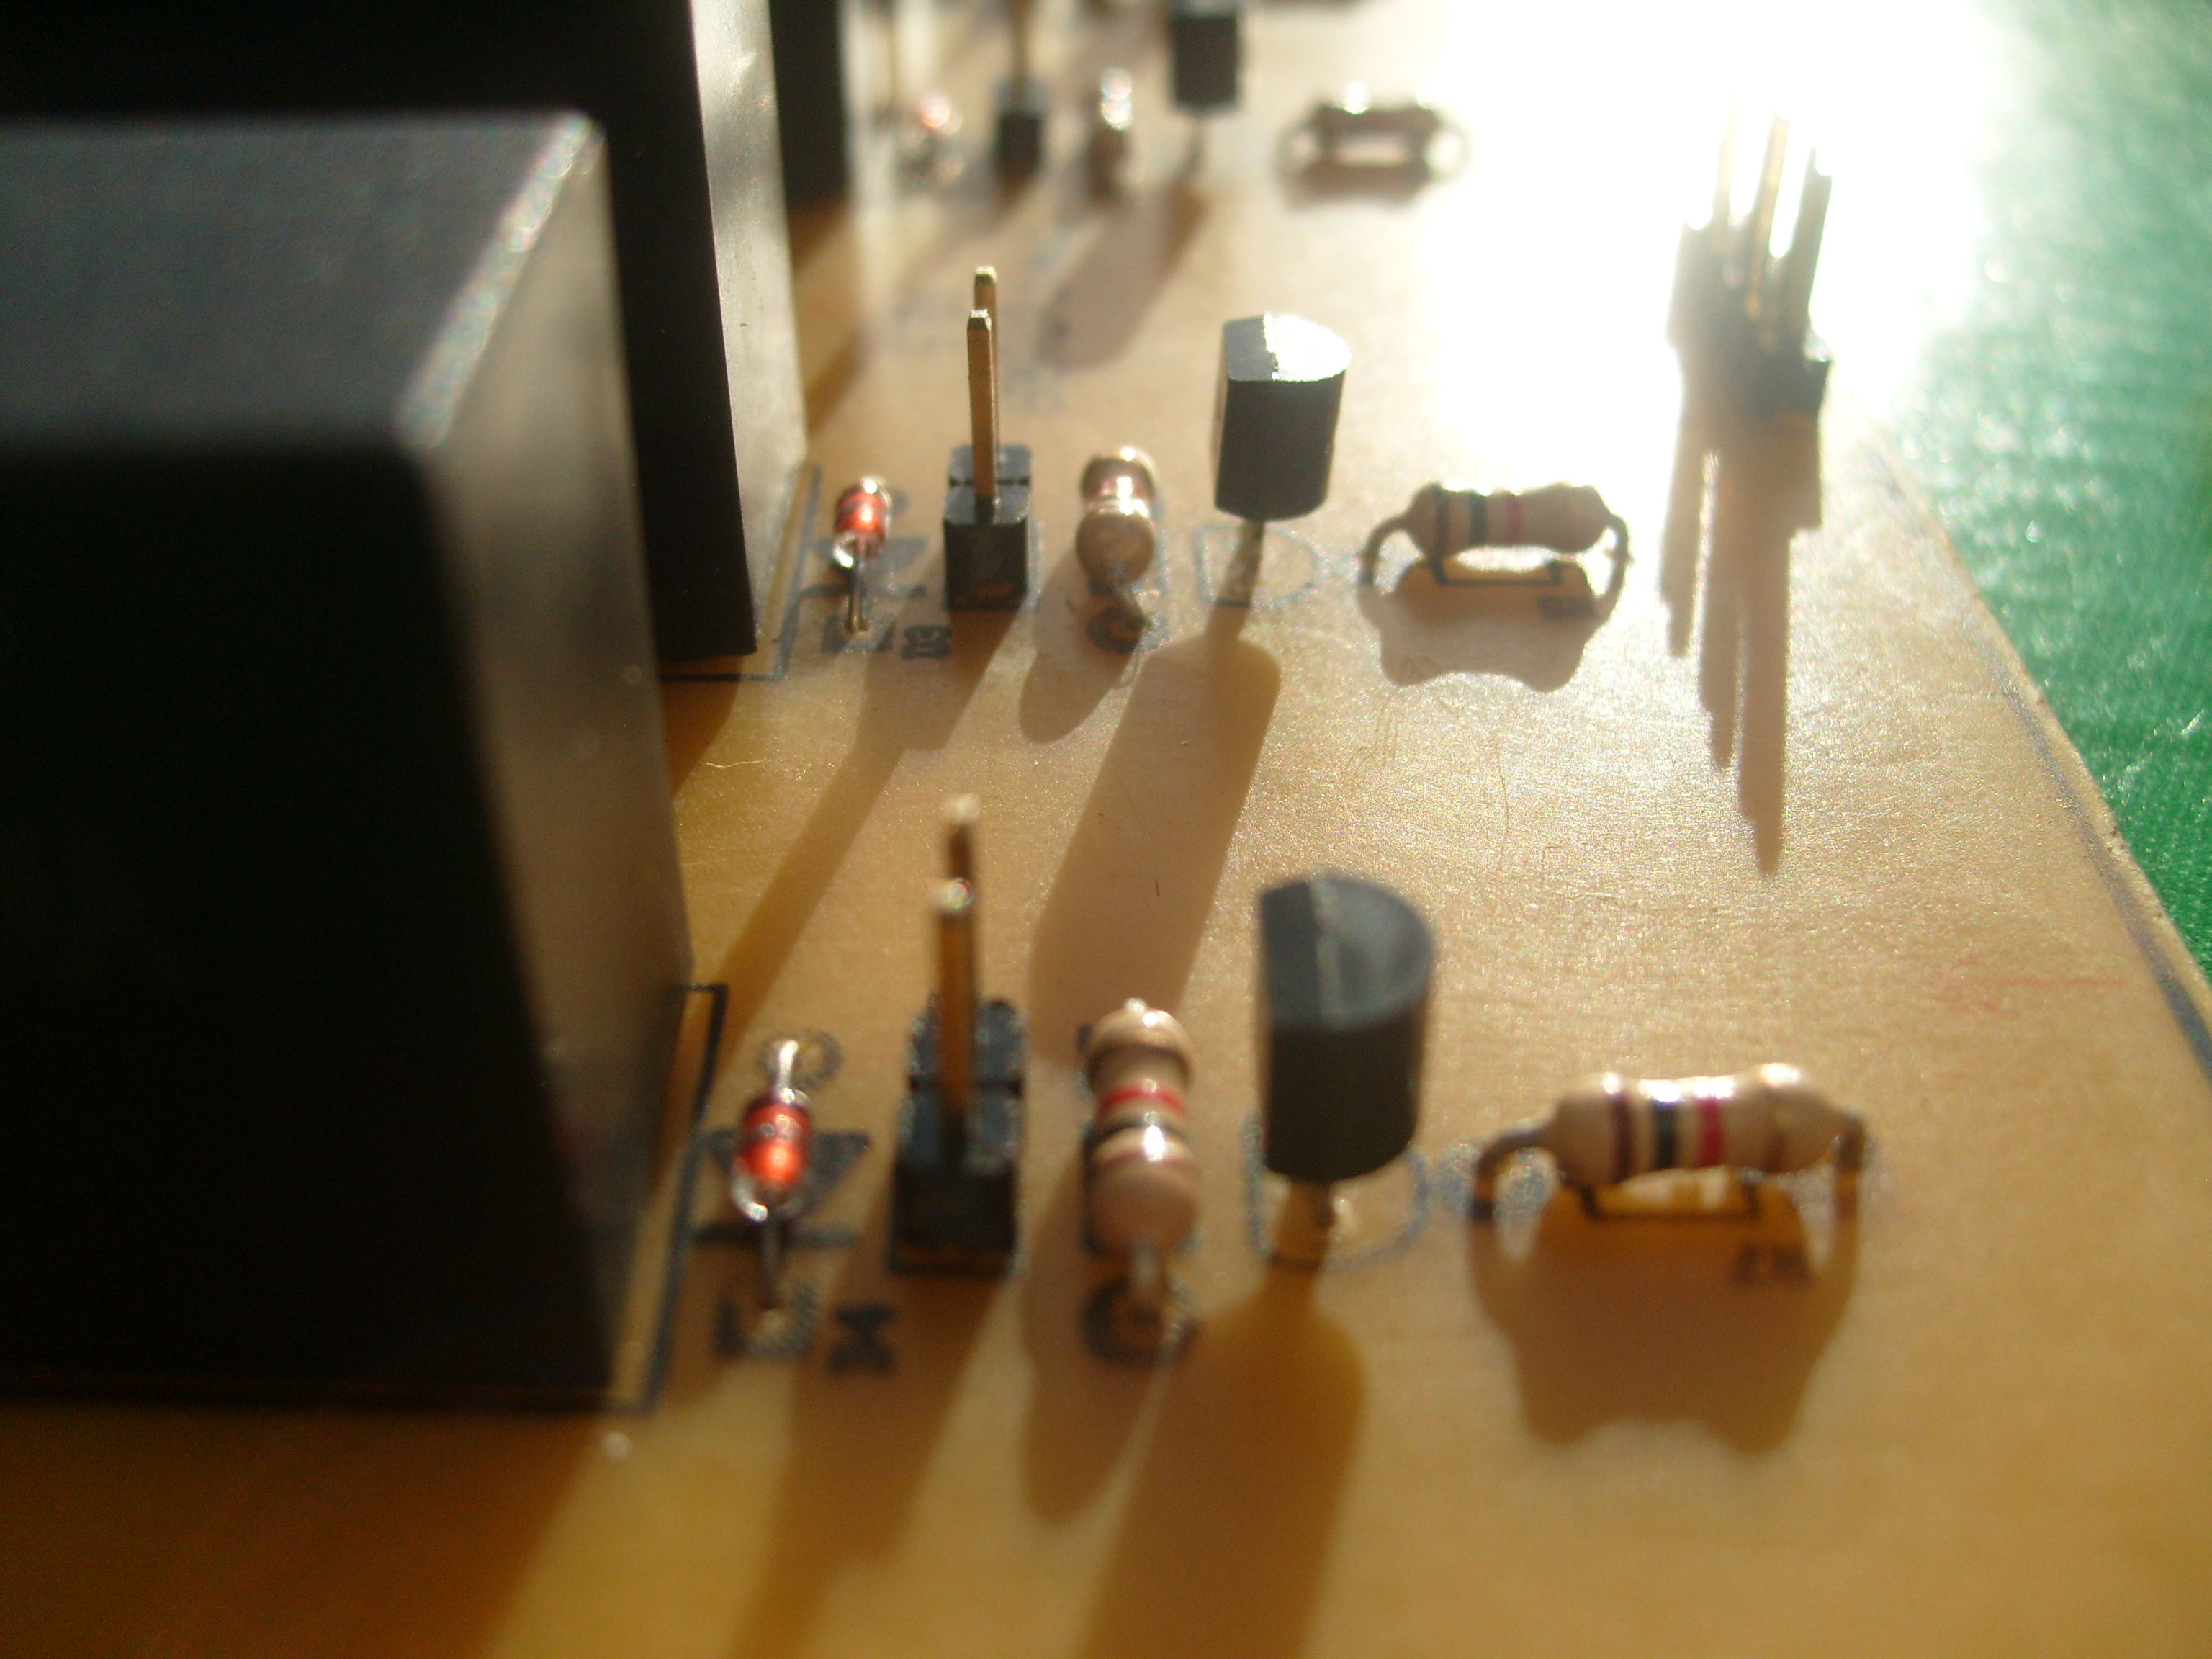
El circuito es bastante básico, del cm8870 va a un attiny2313 con una máquina de estados para encender y apagar los módulos de potencia en la secuencia correcta y de ahí a un grupo de relés comunes. Estuve a punto de usar unos de estado sólido que sobraron de otro proyecto pero no me inspiraban mucha confianza.
Estoy contento con la terminación, a pesar de haber usado el hilo para matambre el cableado quedó bastante prolijo. Resto de las fotos después del salto.

my lacing skills are kind of rusty…
Hace unos días precisaba otra fuente de corriente así que en un ratito la construí con cosas que tenía a mano. Termino de armarla y la enciendo sin carga para ver que todo ande bien. Todo mal, sin importar la corriente que setee la señal de control siempre estaba al máximo. Reviso y todo está bien menos el opamp, reemplazándolo con un potenciómetro puedo variar la corriente de salida. Lo cambio por otro y nada. La que lo tiró che.
Entonces tuve una revelación: estaba usando opamps en los que el modo común no incluía la tierra (básicamente la fuente es un seguidor realimentado por la caída de tensión en una resistencia muy pequeña, o sea la tensión es muy cercana a 0 volt, unos 10mV en las condiciones que la necesito). Compré un lm358 y todo se arregló.
La referencia de tensión interna no es super estable pero una vez que calentó y equilibró se queda en unos 100uA del punto fijado, por lo menos así lo ve el téster chino no tan barato.


Vení, sumate, siempre vienen bien mas instrumentos. Acá tenés la partitura que estamos ensayando.
Que qué va ahí? Ni idea, el otro chico siempre inventaba algo; total todas las variaciones se parecen.
Total que más da, si no tengo (aún?) el trozo de cerebro para sacar canciones de oído. La próxima vez que vaya a Capital paso por la Biblioteca Nacional y me llevo una copia…

Variación tachada de Canaro en París

Hoy todas las chicas geek están de fiesta, celebrando el día de Ada Lovelace, la primer y gran Geek. Afortunadamente en la sociedad actual hay cada vez mas modelos positivos de mujer geek , mis “ídolas” son Becky Stern y Limor Fried. Soñar no cuesta nada…
Otras biografías interesantes en la web de adafruit: http://www.adafruit.com/blog/category/random/ald/
Quince pesos de tela y un rato de trabajo. Cómo te quedó el ojo Gucci?

A brief rehashing of things I learned from making electronic devices for a living (or so I tell myself). More stuff you already know after the jump.

Looks nice, eh? I made it with my bare hands.
El jueves con los compañeros de Crear estuvimos en la CISL con nuestra charla. Es de no creer que gente del público en tiempo real twiteaba y subía la charla a youtube entre otras cosas.
Video corto del final: http://www.youtube.com/watch?v=h892afxo4ko
Twits: #guitarravasallorar
T!: http://www.taringa.net/posts/linux/12404725/Guitarra-vas-a-llorar_.html
En unas horitas me voy a la Conferencia Internacional de Software Libre a presentar con los Compañeros de Crear el prototipo de nuestro último proyecto, “Guitarra Vas a Llorar“.
La idea central es agregar un dispositvo electrónico a una guitarra estándar capaz de mostrar acordes, escalas y canciones sobre el diapasón. Mediante LEDs (diodos emisores de luz) se indicará en donde el guitarrista debe apoyar sus dedos. El funcionamiento se completa con dos alternativas de uso:
Más info del proyecto:
http://www.elarteylatecnologia.com.ar/spip.php?article60
Programa de la Conferencia Internacional de Software Libre:
http://www.cisl.org.ar/index.php?option=com_content&view=article&id=373&Itemid=466

 |
 |
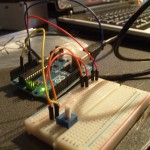
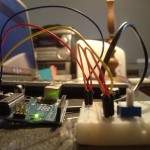
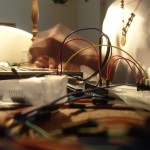
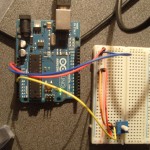
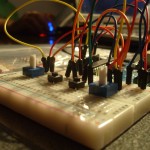
Hace un par de semanas con los compañeros de Crear compramos un Arduino (y un montón mas de cosas en adafruit), llegó muchísimo mas rápido de lo que esperábamos. Mientras bajaba el ide empecé a trastear y en media hora ya estábamos controlando Ardour. El sketch es recontra simple, está basado en arduimidi/ttymidi


Would you rather spend the weekend partying with amusing strangers or doing geeky stuff? Happy as never with my shiny new and photocopied books (Principles of Communications by Ziemer being the most notable and a bunch of theses) I chose the latter. Also I played with some brushless motors and field oriented control.
To make things worse (?) every single attendant to the party confirmed that my weekend was funnier than theirs.
The LB1946 is a very nice chopper driver, the only downside is that it has a serial interface. So, for a project I need to control some steppers. I have a box full of printer boards, picked this one from and old epson inkjet because it had the same chips and also looks like I can chop it in half with a hacksaw and use them as they are.
The logic and the original power supply were toast so I used another I had at hand. To make some tests I hacked the PowerSwitch circuit from Objective Development to send raw commands and spin the motor with an usb interface.
At the end it doesn’t look quite like the original but it works. Still can’t get more than 1000 steps per second but I think that’s because of the supply. Now that I have the basic code working I’ll have to make a parallel interface so I can use them with EMC.
